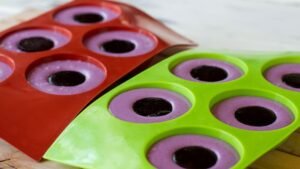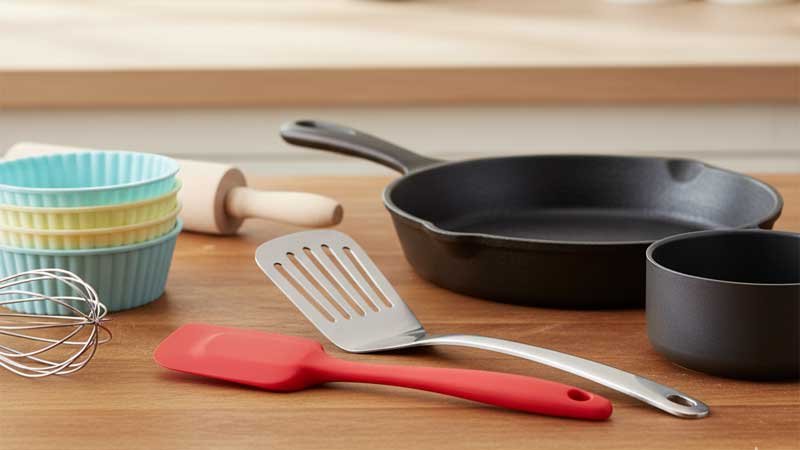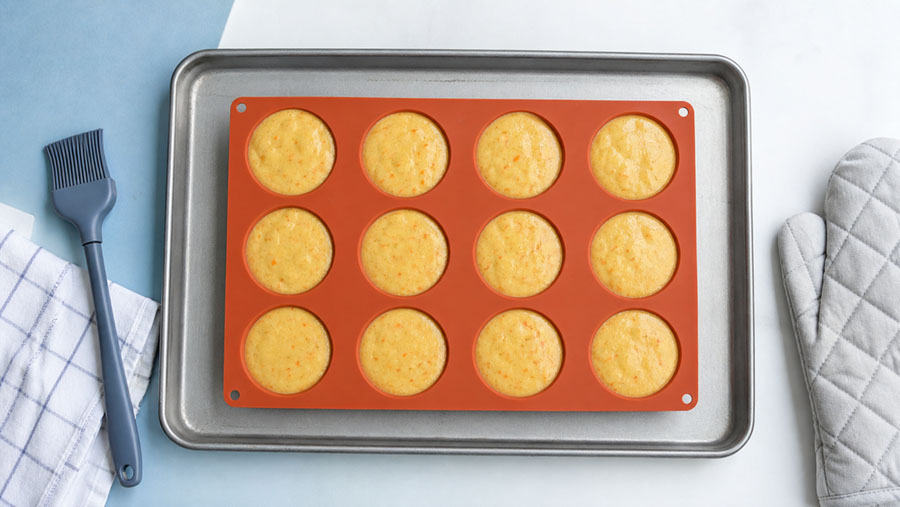
Silicone molds flex under the weight of batter and transfer heat differently from rigid metal pans. Without support, they can spill. If they are overfilled or demolded too early, the finished product can lose its shape.
To bake in silicone molds, place the empty mold on a rigid baking sheet, fill it two-thirds to three-quarters full, use the recipe temperature as the starting point, check doneness early, and cool before demolding.

How Do You Bake in Silicone Molds?
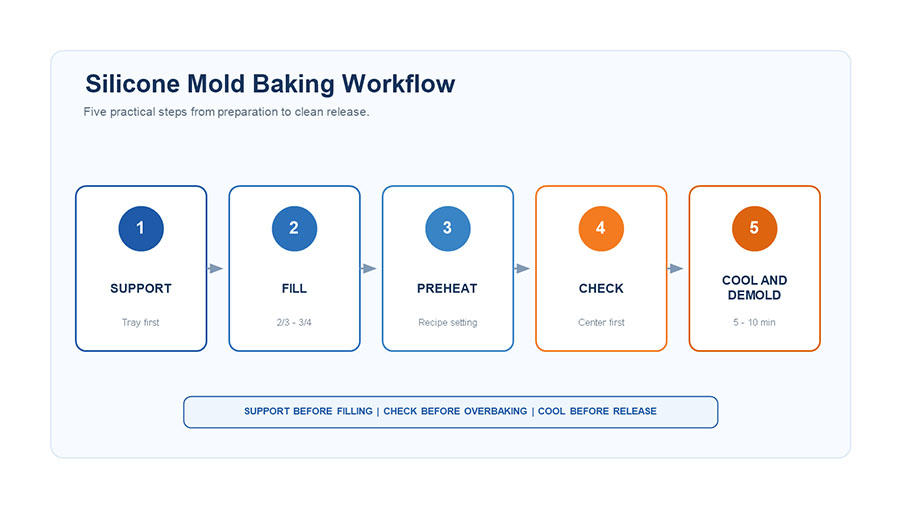
The basic process is simple. The important part is controlling support, fill level, heat and release.
1. Support the Mold Before Filling
Place the empty silicone mold on a flat metal baking sheet before adding batter. A flexible mold becomes difficult to move once filled, especially when it contains thin cake batter, custard or melted chocolate.

A baking sheet improves handling stability. It does not automatically make the mold heat more evenly, and it does not change the mold’s stated temperature limit.
2. Preheat the Oven
Preheat the oven to the temperature specified by the recipe. Silicone does not respond to heat in exactly the same way as aluminum or steel, so starting in a fully heated oven gives a more repeatable result.
Do not place the mold directly on a heating element, stovetop or open flame.
3. Fill the Mold Correctly
For cakes, muffins and other products that rise, fill each cavity about two-thirds to three-quarters full. This leaves room for expansion and reduces overflow.

Fill cavities to a consistent level. Uneven portions finish at different times, even when they are baked in the same mold.
4. Check Doneness Early
Use the recipe time as a reference rather than a fixed rule. Mold thickness, cavity depth, batter composition, oven calibration and the color of the mold can all affect the result.

Check the thickest part several minutes before the expected finish time. For most cakes and muffins, a toothpick should come out clean or with a few moist crumbs. The center should also spring back lightly when touched. Cheesecakes, custards and breads require recipe-specific doneness checks.
5. Cool Before Demolding
Allow most baked items to cool in the mold for 5 to 10 minutes, unless the recipe specifies a different time. Very soft cakes can crack when released while hot. Products containing sugar may become harder to release if left until completely cold.
Do Silicone Molds Need to Be Greased?
Not always. A clean, undamaged silicone surface usually releases cakes and muffins without heavy greasing.
Apply a thin layer of butter, neutral oil or cooking spray when:
- the mold has a detailed surface pattern;
- the recipe is known to stick;
- the mold is older or has surface wear;
- a trial batch shows incomplete release.
Use a pastry brush to spread the coating evenly. Excess grease can pool in corners, change edge browning and leave residue on the mold. Greasing should solve a release problem, not become an automatic step for every recipe.
Learn more about do silicone baking molds need to be greased
What Temperature Should You Use for Silicone Molds?
Start with the temperature stated in the recipe unless the mold manufacturer provides different instructions. Health Canada’s guidance for silicone bakeware advises following the manufacturer’s intended use and not using silicone bakeware above 220°C (428°F). A universal reduction of 10°C or 20°F is not reliable for every mold and recipe.
Many finished silicone baking molds are rated for use up to about 220°C (428°F), while some silicone compounds may have a broader service range. A material-level range is not a blanket guarantee for every finished mold. Pigments, bonded parts, metal frames, printed decoration and product construction can change the permitted limit.
Use the temperature marked on the product or supplied by the manufacturer. Check the safe temperature range for silicone baking molds when the product documentation is incomplete. If no temperature rating is available, do not assume the mold is suitable for high-heat baking.

Can Silicone Molds Go Directly on the Oven Rack?
An oven-rated silicone mold can generally sit directly on an oven rack, but this is rarely the safest way to handle a filled mold. Flexible cavities can sag between the rack bars, and thin batter can spill while the mold is moved.
A rigid baking sheet is recommended for support. Place the mold on the sheet before filling it. Do not slide a full, unsupported mold from the counter onto the sheet afterward.
How Do You Remove Food from a Silicone Mold?
Release the edge first, then push from the bottom. Do not pull the baked item upward by force.
- Let the product cool for the time required by the recipe.
- Gently pull the silicone away from the outer edge.
- Support the baked item with one hand.
- Press upward from the bottom of the cavity.
- Peel the mold away from the food.

Do not use knives, forks or metal scrapers to pry food out. A small cut can propagate when the mold is stretched repeatedly.
How Should You Clean and Store Silicone Baking Molds?
Wash the mold with warm water, dish soap and a soft sponge after use. For broader guidance, see how to clean and care for silicone kitchen products. Use a dishwasher only when the manufacturer identifies the product as dishwasher-safe.
For persistent greasy residue, apply a paste of baking soda and water. Leave it on the affected surface for about one hour, then rinse and dry the mold completely. Avoid abrasive pads and sharp cleaning tools.

Store the mold flat or hang it without stretching it. Do not leave it folded under heavy cookware. Long-term compression can distort thin walls and detailed cavities.
What Can You Bake in Silicone Molds?
Silicone molds are commonly used for:
- cakes, cupcakes and muffins;
- brownies and cornbread;
- bread and small loaves;
- chocolates and candies;
- gelatin desserts and chilled puddings.
The same mold will not perform identically with every recipe. Deep cavities require more time for the center to set. Thin decorative features cool quickly and can tear during release. For a new mold or recipe, run one trial batch before producing a large quantity.
Frequently Asked Questions
Can You Put Silicone Molds in a Microwave?
Only when the manufacturer labels the finished mold as microwave-safe. Do not microwave molds containing metal frames, inserts or decorative metal components.
Should You Reduce the Oven Temperature for Silicone Bakeware?
Not automatically. Start with the recipe temperature, check doneness early and adjust the next batch only if the outside browns before the center is set.
How Full Should Silicone Molds Be?
Fill rising batters about two-thirds to three-quarters full. Non-rising recipes may use a different fill level.
How Long Should Food Cool Before Demolding?
For many cakes and muffins, 5 to 10 minutes is a practical starting point. Follow the recipe when working with custards, cheesecakes, bread or delicate decorative shapes.
What Should You Check Before Using a New Silicone Mold?
Confirm the intended use, maximum temperature and appliance compatibility on the product label or technical documentation. For food-contact applications, request documentation for the applicable market, such as FDA 21 CFR 177.2600 or LFGB and BfR Recommendation XV, rather than relying only on a generic “food-grade” claim.
The correct baking setting still depends on the recipe, cavity geometry and oven. Use the first batch to establish the actual fill level, baking time and release method for that mold.