Silicone molds are incredibly versatile, used in industries ranging from food and crafts to industrial and medical applications. But how exactly are silicone molds made? The manufacturing process plays a key role in determining the quality, precision, and durability of the molds.
The silicone mold manufacturing process involves several key steps: preparing the materials, mixing the silicone, molding, and curing. Each step is crucial for ensuring the final mold meets high standards of quality and precision. Let’s walk through these steps in more detail, so you understand what goes into creating a high-quality silicone mold.
Understanding the process is essential, whether you’re a manufacturer, designer, or someone interested in the world of silicone mold-making.
Step 1: Choosing the Right Silicone Material
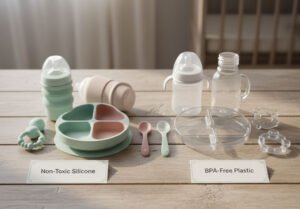
The first step in the silicone mold manufacturing process is selecting the right type of silicone. Silicone comes in different grades, including food-grade, medical-grade, and industrial-grade, each suited for specific applications. The chosen silicone material determines the mold’s strength, flexibility, and ability to handle heat, chemicals, or UV exposure.
For example, food-grade silicone must be non-toxic and able to withstand high temperatures, making it ideal for baking molds, whereas industrial silicone molds might need to be resistant to wear and tear or able to withstand high pressure.
Step 2: Preparing the Mold Design
Before manufacturing a silicone mold, a precise design is crucial. Whether you’re creating a mold for a small part, a craft item, or an industrial component, the design determines the shape, size, and complexity of the mold.
In this step, a prototype or model is usually created, typically from materials like clay, wax, or 3D-printed objects. The prototype is then used as the pattern for making the silicone mold.
For complex molds, CAD (Computer-Aided Design) software may be used to ensure that every dimension is accurate and that the mold can be created in a way that minimizes waste and maximizes efficiency.
Step 3: Mixing the Silicone Rubber
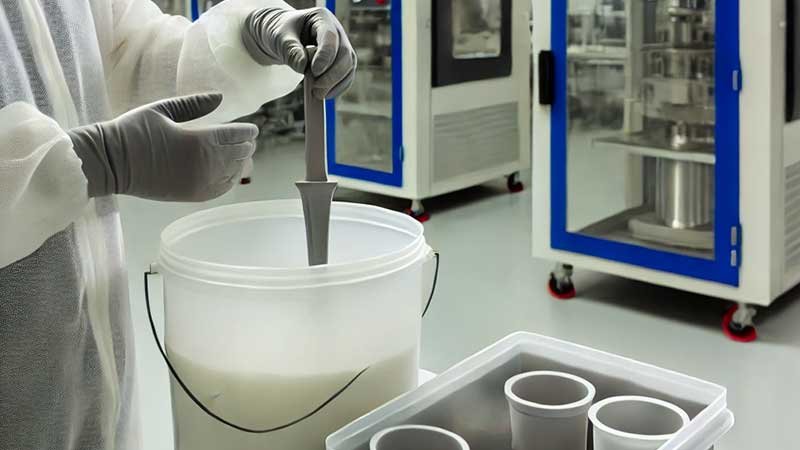
Once the materials and design are in place, the next step is to mix the silicone rubber. Silicone rubber comes in two components—part A (the base) and part B (the catalyst). These two parts must be mixed thoroughly to activate the curing process.
The ratio of part A to part B varies depending on the manufacturer’s instructions, and achieving the correct ratio is crucial for achieving the right consistency and durability in the final product.
In some cases, additional additives such as colorants, UV stabilizers, or reinforcing agents may be added to customize the mold’s properties—like making it more flexible or heat-resistant.
Step 4: Creating the Mold
Once the silicone is properly mixed, the next step is creating the actual mold. This is typically done using one of two methods:
- Pouring Method: The mixed silicone is poured over the prepared model (pattern) to create a mold. This is often used for simple shapes or objects.
- Injection Method: In this method, the silicone is injected under pressure into a mold cavity containing the prototype. This method is commonly used for more complex designs, ensuring that the silicone fills every crevice of the model.
The method used depends on the size, shape, and complexity of the mold being produced. For large or highly detailed molds, injection molding might be preferred, while for simpler molds, pouring is often sufficient.
Step 5: Curing and Setting
After the silicone is poured or injected, it needs to cure, which typically takes several hours or overnight, depending on the type of silicone used. Curing is the process where the silicone hardens and takes on its final, rubbery consistency.
During curing, the silicone’s chemical bonds are formed, and the mold becomes stable and ready to use. Curing can be done at room temperature for most silicone rubbers, although some formulations may require heat for faster curing.
Step 6: Demolding and Final Touches
Once the silicone has fully cured, the mold is carefully removed from the prototype or pattern. This step is referred to as “demolding.” The final silicone mold is now ready for use, but additional finishing touches might be needed.
Any extra flashing (silicone material that seeps out around the mold’s edges) may need to be trimmed. Sometimes, small air bubbles may be visible in the mold. These can be fixed by reapplying silicone in those areas or sanding down rough edges.
Some molds also require post-cure processes, such as additional heat treatment, to further strengthen the silicone.
Step 7: Quality Control and Testing
Before the silicone mold is sent to customers or used in production, it undergoes strict quality control testing. This is where the mold’s durability, flexibility, and other properties are assessed. The mold is often tested with a small production run to ensure that it functions as intended, creating precise, high-quality parts.
Testing ensures that the mold will perform under the specific conditions it was designed for, whether that’s holding up against high temperatures, chemicals, or heavy use.
Benefits of Silicone Molds
Silicone molds offer a variety of advantages:
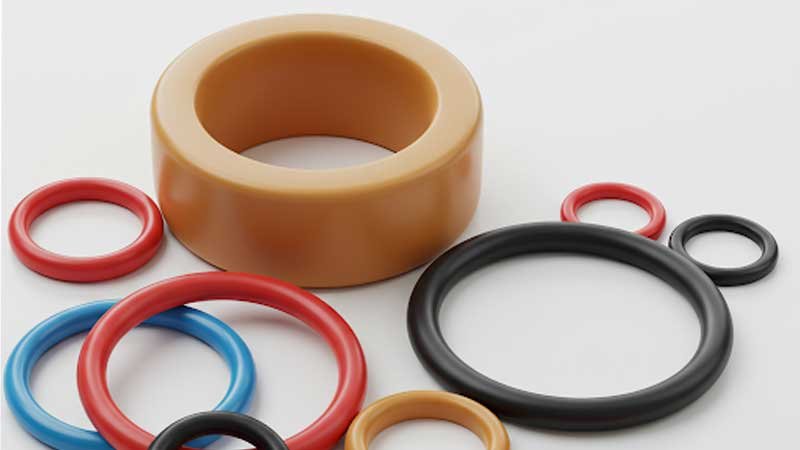
- Durability: Silicone is a highly durable material that can withstand a wide range of temperatures.
- Flexibility: Silicone molds are flexible, making it easier to remove the casted product without damage.
- Non-stick surface: Silicone molds are non-stick, making them easier to clean.
- Versatility: Silicone can be molded into almost any shape, making it perfect for intricate designs.
Conclusion
The silicone mold manufacturing process is a careful and precise sequence of steps. Choosing the right material, designing the mold, mixing the silicone, and testing the final product all play a key role in creating a mold that is functional and durable. Whether for industrial use, food production, or crafting, silicone molds continue to be a top choice due to their versatility, reliability, and ease of use.