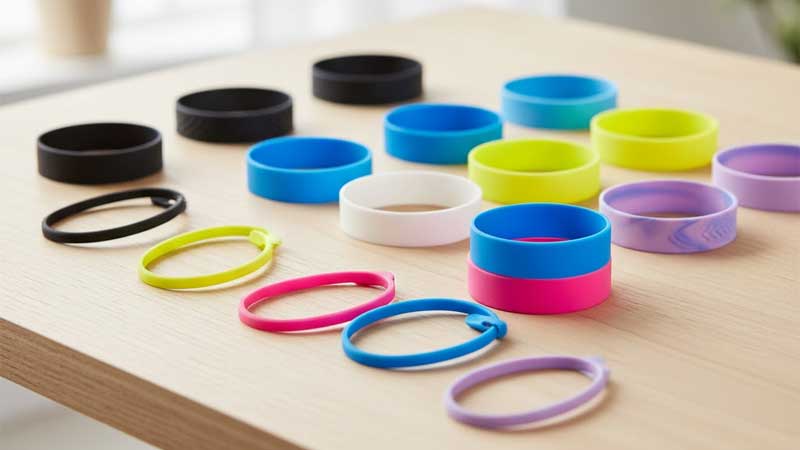
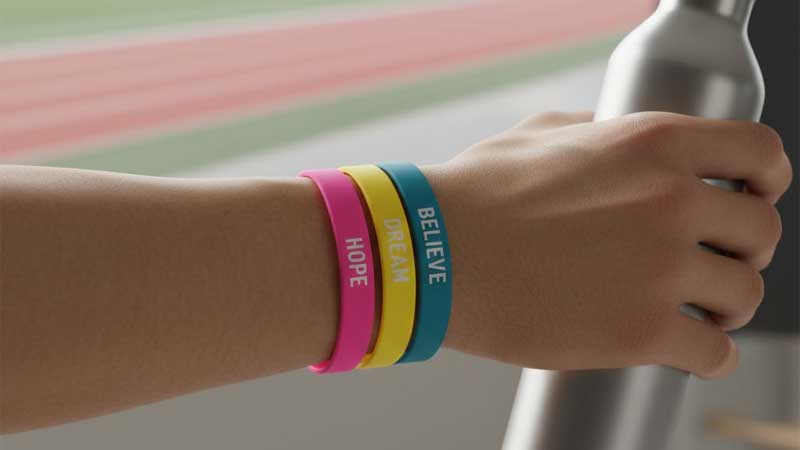
Making your own silicone wristband is not only a fun experience but also a great way to create something personal and meaningful. With just a few simple materials and steps, you can design a unique wristband right at home.
This article will guide you through the benefits of DIY silicone wristbands, the tools you’ll need, the step-by-step process, and some practical tips to help you craft your own custom piece with ease.
What Are the Advantages of Making Silicone Wristbands Yourself?
Personalization and Creative Expression
The biggest charm of making your own wristbands lies in endless design possibilities. You can choose any color, size, or pattern, and even add names, slogans, or symbols to match a specific theme. For example, bright colors with motivational words can become an energy wristband for sports, while soft tones with small charms can make a cute everyday accessory.
Better Cost Efficiency
Compared with buying ready-made wristbands from stores or online platforms, making them yourself gives you better cost control. Once you purchase silicone and molds, you can reuse them many times. A single investment can yield multiple batches. For small brands, hobby studios, or school events, DIY wristbands also help reduce the cost per piece significantly.
Fun and Companionship
Making silicone wristbands is not only a creative craft but also a relaxing activity. Parents can create them with children to improve hands-on skills and strengthen family bonds. Friends can enjoy the process together, turning DIY sessions into moments of teamwork and fun.
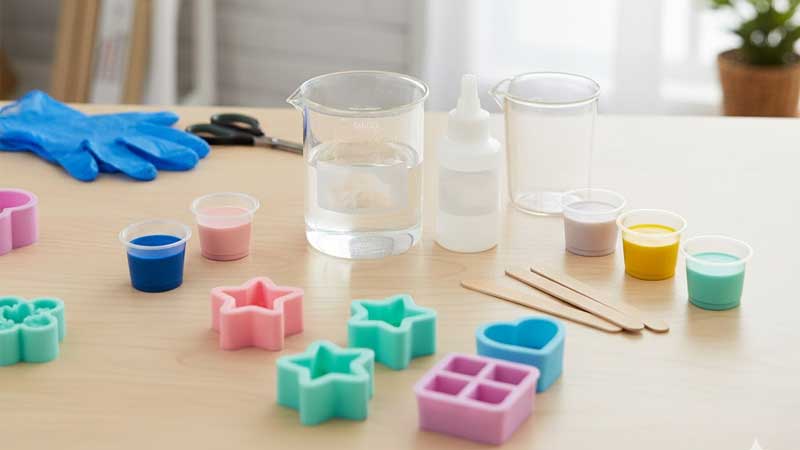
What Materials and Tools Do You Need?
Before starting, prepare the following materials and tools:
| Item | Description |
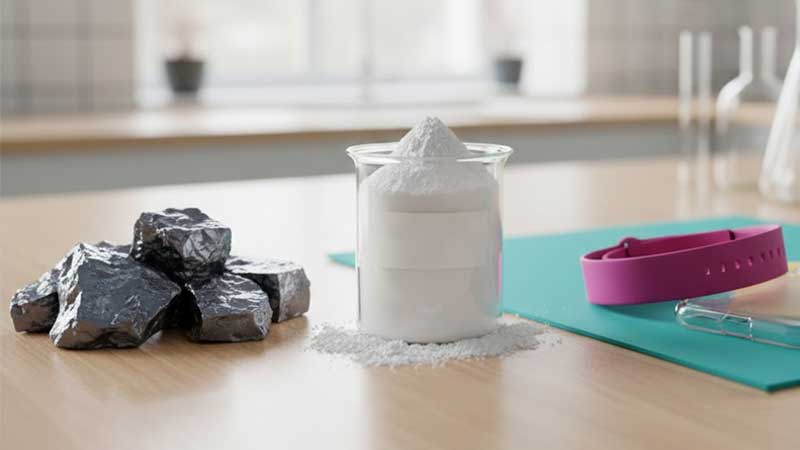
| Silicone material | Choose safe silicone with good flexibility. |
| Molds | Use wristband-specific silicone molds. Different widths and shapes allow for multiple styles. |
| Mixing container & stirrer | Use a clean measuring cup or silicone container to ensure accurate ratios. |
| Color paste or pigments | Use pigments designed for silicone. They are bright and do not affect curing. |
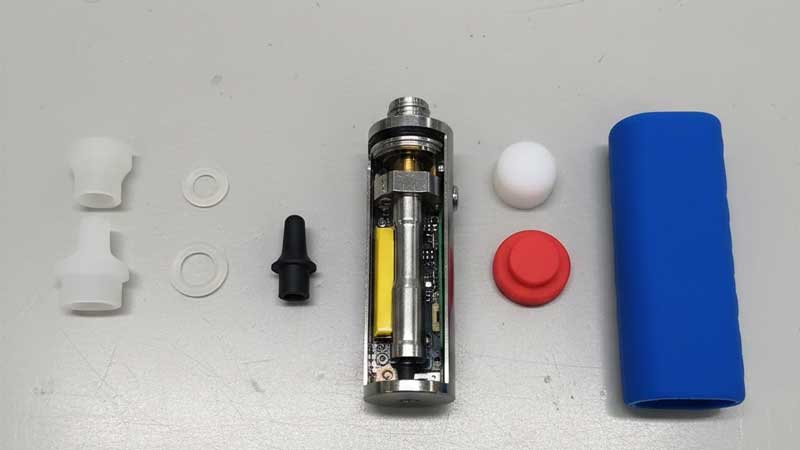
| Decorative elements | Add glitter, beads, letters, small charms, or other accessories for visual appeal. |
| Release agent | Use spray release agents or talcum powder to remove the wristband easily after curing. |
| Protective gear | Wear gloves and keep the workspace ventilated for safe handling. |
How to Make Silicone Wristbands Step by Step?
Prepare Silicone and Color
Follow the instructions to mix the silicone base and curing agent in the correct ratio. Add color paste or pigments during mixing and stir until the color is uniform. Feel free to combine colors, create gradients, or mix two shades for a layered effect.
Prepare the Mold
Clean and fully dry the mold, then spray a thin layer of release agent. This prevents sticking and ensures smooth demolding. Place the mold on a stable, level surface to avoid tilting when pouring.
Pour Silicone
Slowly pour the mixed silicone into the mold until it reaches the desired height. To avoid air bubbles, gently tap the bottom of the mold or use a toothpick to pop surface bubbles.
Add Decorations
Before the silicone fully cures, insert glitter, small beads, or letter pieces. Arrange them with attention to position and layering so they blend naturally with the silicone. For themed wristbands, like birthday or team designs, prepare custom small accessories in advance.
Curing
Curing time depends on the silicone type, usually 6 to 24 hours. You can let it sit at room temperature or apply heat to speed up curing. Keep the mold stable during this period to maintain shape.
Demolding and Finishing
Once the silicone is fully cured, gently bend the mold to remove the wristband. Trim excess edges with a small knife or scissors. For a smoother finish, lightly sand the edges with fine sandpaper.

What Are Some Tips to Improve the Success Rate?
To make your DIY silicone wristbands look more professional, focus on the small details. These simple but effective tips can greatly improve your final results.
Control the Mixing Ratio Accurately
The ratio between the base and the curing agent must be precise. Too little curing agent will leave the surface sticky, while too much will make it brittle. Use a digital scale for accuracy, and pour the mixture into the mold promptly to avoid premature curing.
Minimize Air Bubbles
Stir slowly to prevent air from entering the mixture. After pouring the silicone, tap the mold gently or use a toothpick to remove surface bubbles. If available, a vacuum deaerator can further improve the result.
Keep Everything Clean
Dust, lint, and oil can affect the smoothness of the surface. Clean the workspace and molds before use. Wearing gloves helps prevent skin oils from contaminating the silicone, ensuring a cleaner and glossier finish.
Use Smart Coloring Techniques
Layered pouring can create beautiful gradient effects, while mixing two colors produces natural patterns. Add glitter or pigments to make the design stand out, but use them sparingly so the curing process remains stable.
Pay Attention to Curing and Mold Maintenance
Keep the curing temperature between 20°C and 30°C for better stability. Wait until the silicone is fully cured before demolding to avoid deformation. After use, clean and dry the mold completely before storing it to extend its service life.
Conclusion
The process of making a silicone wristband is not only a creative activity but also a way to express your personality. From choosing the material and mixing colors to curing and shaping, every step reflects your ideas and effort. With the right materials and clear steps, you can easily create a custom wristband of your own and let your creativity shine in your hands.
If you are looking for a professional and reliable silicone product partner, we are ready to help. With years of experience in silicone formulation and mold manufacturing, we are skilled in compression molding, injection molding, and extrusion processes. Our team can develop customized solutions to meet your specific needs. From material selection to production details, we maintain strict quality control at every stage to ensure consistent, safe, and high-quality products. Contact us today, and let our professional team create the perfect silicone products for you.