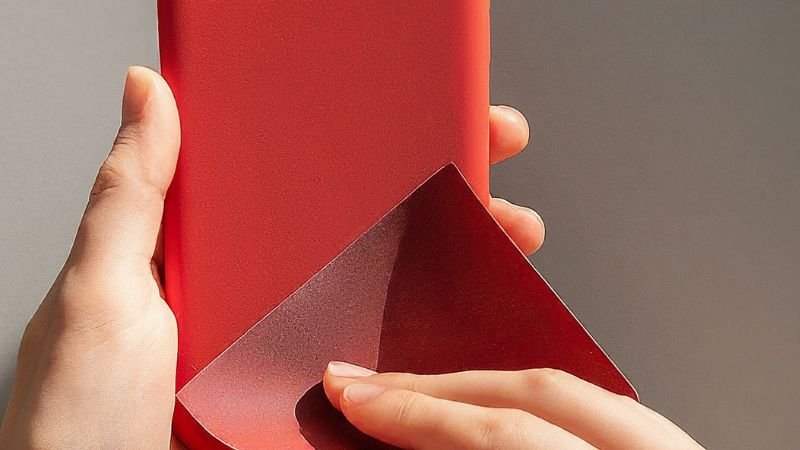
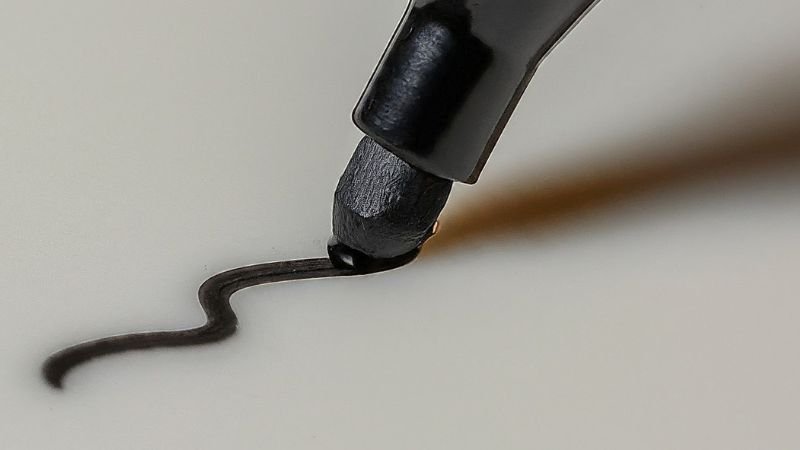
Ever tried writing on silicone with a Sharpie, only to have the ink bead up and wipe right off? We’ve all been there. Silicone’s non-stick properties, a huge benefit for baking molds and phone cases, become a nightmare when it comes to permanent marking. But fear not, fellow Sharpie enthusiasts! There are ways to outsmart the slick surface and make your mark last.
So, how can you keep Sharpie on silicone?
While Sharpies might not be your best friend on silicone, there are a few methods to create a more permanent mark. The key lies in altering the silicone’s surface or using an alternative writing tool. Let’s delve into these methods and find the perfect solution for your needs.

Prepping the Silicone for Sharpie
1. The Etching Technique
This method creates a slight texture on the silicone, allowing the Sharpie ink to adhere better. Here’s what you’ll need:
- Rubbing alcohol
- Fine-grit sandpaper (around 120 grit)
- Your trusty Sharpie
Steps:
- Clean the silicone surface thoroughly with rubbing alcohol to remove any dirt or oils.
- Lightly sand the area you want to write on with the sandpaper. Be gentle; you only want to create a slight texture, not gouge the silicone.
- Wipe away any dust particles with a clean cloth.
- Now, use your Sharpie! The ink should adhere better to the roughened surface.
Important Note: This method might be suitable for specific uses but can be damaging to some silicone items. Test on an inconspicuous area first to ensure it doesn’t cause permanent marks or alter the texture significantly.
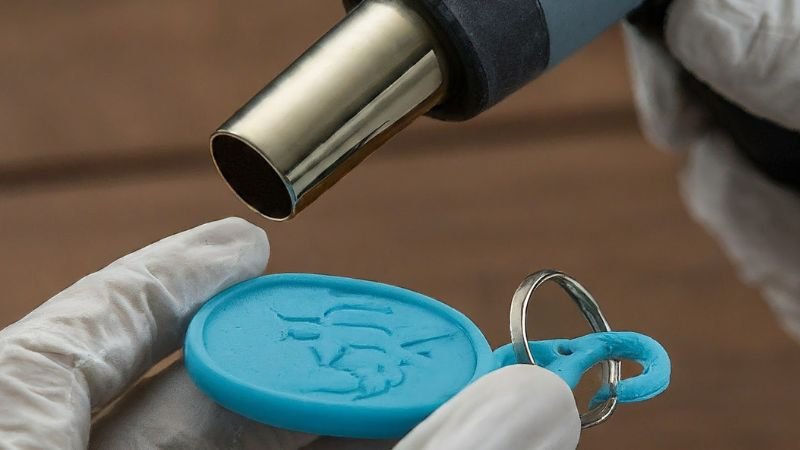
2. The Heat Treatment (Use with Caution!)
This method involves briefly heating the silicone to make the surface slightly more receptive to the ink. However, proceed with caution, as excessive heat can damage silicone. Here’s what you need:
- Heat gun (optional: hairdryer on low heat setting)
- Sharpie

Steps:
- Heat gun method: Using a heat gun on the lowest setting, carefully hold it a few inches away from the silicone surface and heat it for a couple of seconds. Don’t overheat – you just want to make it slightly warm to the touch.
- Hairdryer method: If you don’t have a heat gun, a hairdryer on the lowest heat setting might work for very thin silicone objects. Hold the dryer at least six inches away to avoid overheating.
- Quickly write on the warmed silicone with your Sharpie. The ink should bond slightly better with the warmed surface.
Warning: This method is risky and can potentially melt or warp silicone. Only attempt this on small, non-critical items and test on a hidden area first. 100% silicone is generally more heat resistant than silicone blends; check the material information if available.
Alternative Marking Methods for Silicone
If altering the silicone surface isn’t ideal, there are alternative writing tools that might work better:
- Paint Pens: Especially oil-based paint pens, can create a more permanent mark on silicone. Test on a hidden area first, as some brands might still smudge.
- Silicone Marking Pens: These specialized pens are designed specifically for writing on silicone. They come in various colors and offer better adhesion compared to Sharpies.

Keeping Your Sharpie Mark on Silicone Lasting Longer
Even with the methods above, Sharpie marks on silicone might not be entirely permanent. Here are some tips to extend their lifespan:
- Let the ink dry completely: Don’t touch or rub the mark until it’s fully dry.
- Minimize contact: Avoid excessive handling or rubbing of the marked area.
- Protect from harsh chemicals: Avoid exposing the mark to harsh chemicals or cleaning agents, as they can break down the ink.
Conclusion
While Sharpies and silicone might not be the perfect match, with a little creativity and the right techniques, you can achieve a more permanent mark. Remember to prioritize the safety of the silicone item and choose the method that best suits your needs. Happy Sharpie-ing!