Introduction
Have you ever admired the intricate silicone molds used in professional crafting and wondered if you could create something similar in your own home? The good news is, making your own silicone molds is not only feasible but also surprisingly straightforward and cost-effective. Whether you’re a seasoned crafter looking to expand your toolkit or a beginner eager to dive into a new project, this guide will walk you through the process of creating your very own silicone molds.
In this comprehensive guide, we’ll explore the materials you’ll need, the steps to create different types of molds, and some creative ideas for using them. By the end of this article, you’ll have the knowledge and confidence to start crafting custom silicone molds for everything from jewelry to kitchenware. Let’s get started!
Understanding the Basics
Before diving into the mold-making process, it’s important to understand what silicone molds are and why they are so popular in various crafting domains. Silicone molds are flexible, durable, and non-stick, making them ideal for a wide range of applications from culinary arts to jewelry making.
What are Silicone Molds and Their Uses?
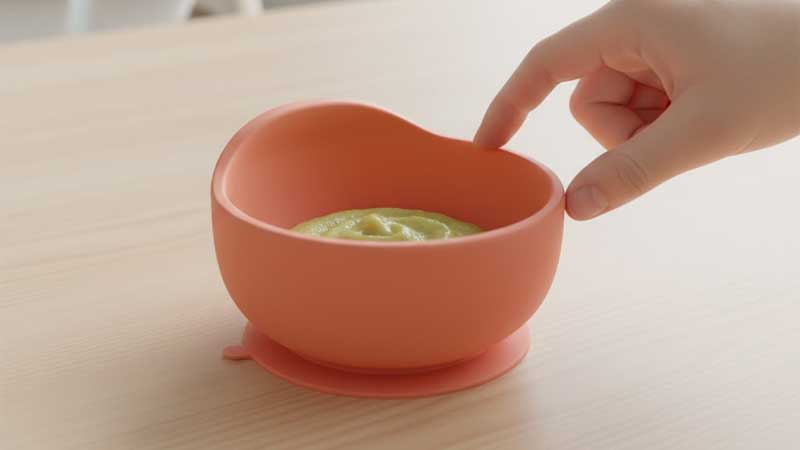
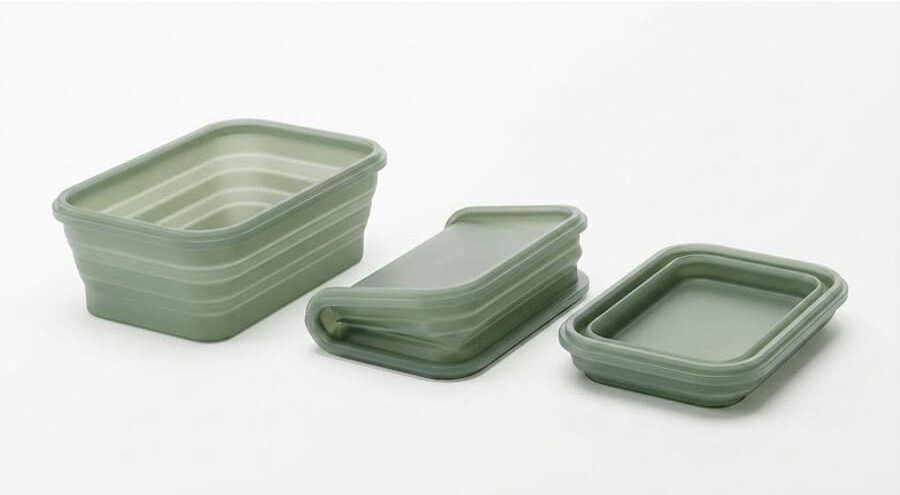
Silicone molds are tools used to shape materials into specific forms. They are made from silicone rubber, known for its flexibility, heat resistance, and longevity. These molds are popular in crafts, baking, soap making, and resin art. Their non-stick nature allows for easy demolding, and they can be used to cast a variety of materials, including chocolate, epoxy resin, and concrete.
Materials Needed for DIY Silicone Molds
To start making your own molds, you’ll need a few key materials:
- Silicone rubber: Available in different types (such as tin-cure and platinum-cure) and consistencies.
- Mixing tools: Sturdy mixing sticks and a mixing container.
- Mold box: A container to hold your silicone and the object being molded.
- Release agent: To prevent silicone from sticking to your model or container.
Preparing Your Workspace
A well-prepared workspace is crucial for a successful mold-making project. Choose a well-ventilated area and protect your work surface with a plastic sheet or newspapers. Gather all your materials and ensure you have enough space to work comfortably.
Step-by-Step Guide to Making Silicone Molds
Now that you’re familiar with the basics, let’s get into the exciting part: creating your own silicone molds. The process is straightforward, but attention to detail is key. Follow these steps to ensure a smooth and successful mold-making experience.
1. Designing Your Mold – Planning and Sizing
Start by deciding the shape and size of your mold. This will depend on the object you want to replicate. Ensure your model is clean and free of any dust or debris. Remember, any imperfection on the model will be captured in the mold!
2. Mixing the Silicone – Tips for a Perfect Consistency
Silicone rubber typically comes in two parts that need to be mixed. Follow the manufacturer’s instructions for the correct ratio. Mix thoroughly until the silicone has a uniform color, indicating that both parts are well combined. Avoid whipping air into the mixture to prevent bubbles.
3. Pouring and Curing the Silicone – Ensuring a Smooth Finish
Place your model in the mold box and slowly pour the silicone mixture over it. Pour from a corner and let the silicone envelop the model to reduce air bubbles. Once poured, allow the silicone to cure as per the manufacturer’s instructions – usually 24 hours. Curing time can vary based on the type of silicone and environmental factors like temperature and humidity.
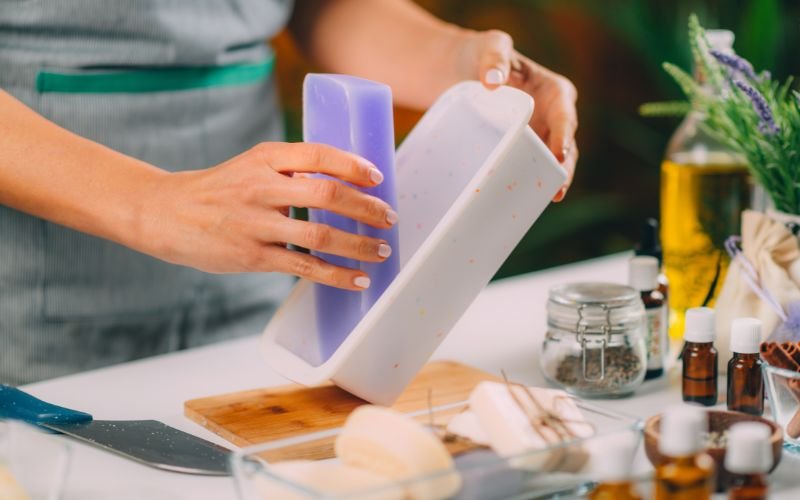
4. Demolding – How to Safely Remove Your Creation
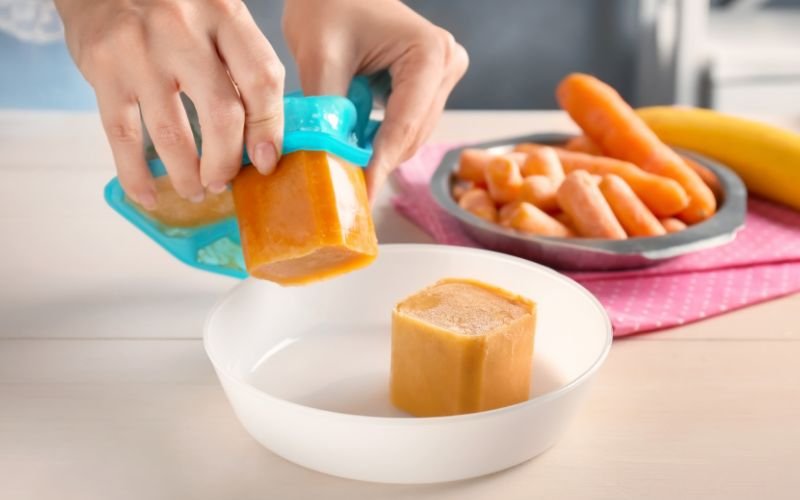
After the silicone has fully cured, carefully remove the mold from the mold box. Gently peel away the silicone mold from the model. If done correctly, you should have a perfect replica of your model in mold form, ready to be used for casting.
Advanced Tips and Techniques
With the basics of silicone mold-making under your belt, it’s time to enhance your skills with some advanced tips and techniques. These insights will help you tackle more complex projects and refine the quality of your molds.
Creating Complex Molds – Techniques for Multi-part Molds
For intricate objects, a multi-part mold may be necessary. This involves creating two or more separate mold pieces that fit together. Key to this process is the use of mold keys — small indentations or protrusions — to ensure the mold pieces align correctly. Remember to apply a release agent between the mold sections to prevent them from sticking together.
Decorating and Customizing Your Molds
Personalize your molds by embedding patterns, textures, or even small objects into the silicone before it cures. This technique can add an artistic touch to your creations. Be mindful of the objects’ placement and ensure they’re fully encased in silicone.
Troubleshooting Common Issues
- Air Bubbles: To avoid air bubbles, pour the silicone slowly and consider using a vacuum chamber to degas the silicone mixture.
- Uneven Curing: Ensure the silicone mixture is thoroughly mixed. Also, keep the curing silicone at a consistent temperature.
- Mold Tears: Use a silicone with higher tear strength for molds that require flexibility, and remove cast objects gently.
Each project brings its own set of challenges and learning opportunities. Experiment with different techniques, and don’t be afraid to make mistakes – they are part of the learning process!

Practical Applications and Project Ideas
Having mastered the art of silicone mold-making, the possibilities for your DIY projects are virtually endless. Here, we’ll explore various creative applications for your homemade molds and provide some project ideas to spark your imagination.
From Jewelry to Kitchenware – Diverse Uses of Silicone Molds
- Jewelry Making: Create custom pendants, earrings, and bracelets by casting resin or metal in your silicone molds.
- Culinary Creations: Silicone molds are perfect for chocolates, fondant decorations, or even unique ice cubes. Ensure the silicone you use is food-grade for these applications.
- Home Decor: Cast decorative items like candle holders, vases, or coasters. You can experiment with materials like concrete, resin, or plaster.
Featured DIY Projects Using Your Homemade Molds
- Resin Art: Use your molds to create stunning resin art pieces. Add colors, glitters, or even encapsulate small objects within the resin for a unique effect.
- Soap Making: Craft your own soaps in various shapes and sizes. Silicone molds make the demolding process a breeze.
- Custom Baking Molds: Create your own designs for cakes or muffins, adding a personal touch to your baking endeavors.
Remember, the key to successful mold-making is creativity and experimentation. Each project offers an opportunity to refine your skills and try something new. Share your creations with the crafting community, seek feedback, and keep pushing the boundaries of your mold-making abilities.
Conclusion
DIY silicone mold-making is a rewarding and versatile craft. With the right tools, some patience, and a bit of creativity, you can create customized molds for a wide range of applications. We hope this guide inspires you to embark on your mold-making journey and explore the endless creative possibilities it offers. Happy crafting!