Getting a new product to market quickly means fast decisions, fast feedback—and fast prototypes. That’s why rapid prototyping is key.
Silicone keypad prototyping uses soft tooling, CNC milling, and 3D printing to shorten development cycles, test usability, and validate designs before full production.
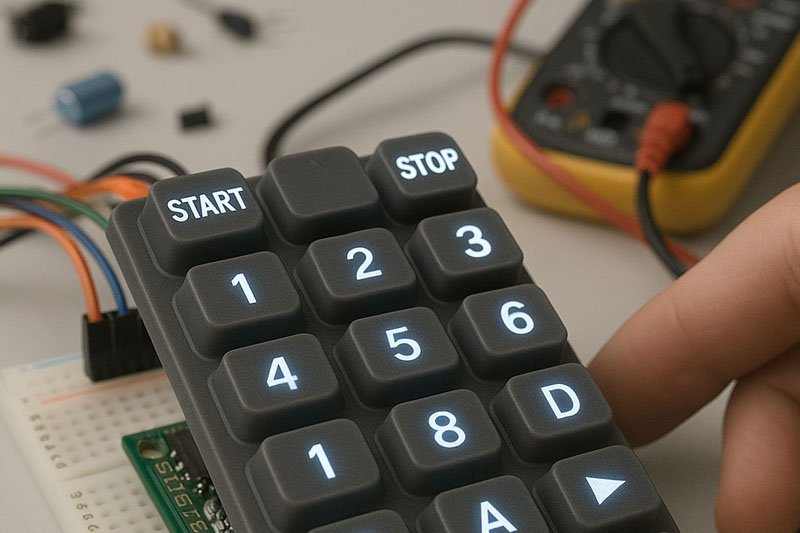
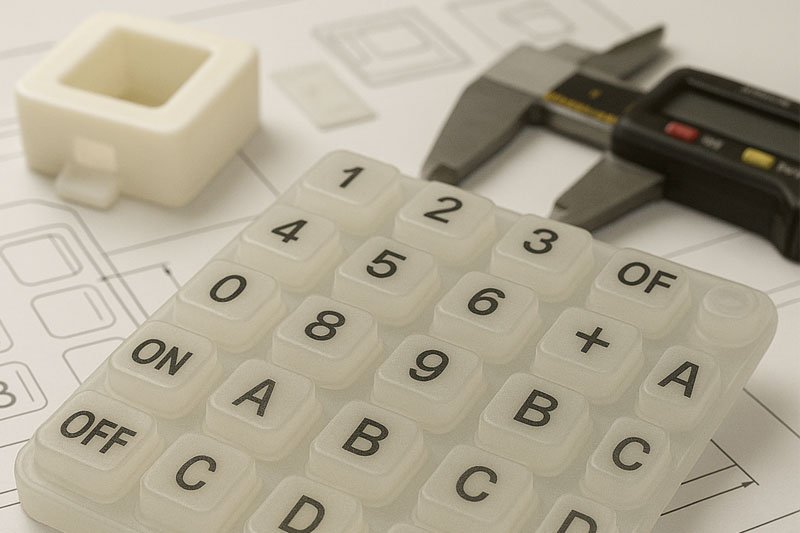
When a client brings me a new keypad idea, the first thing they ask is, “How soon can we see a working sample?” Rapid prototyping helps bridge that gap between digital design and physical reality. Here’s how we do it efficiently without cutting corners.
Why is prototyping important for silicone keypad development?
You can’t fix what you can’t see. Prototypes turn CAD files into real-world feedback.
Prototypes help verify dimensions, feel, feedback, and fit before investing in full-scale tooling. They reduce costly revisions and speed up product validation.
We always recommend prototyping before production. It lets our clients test tactile response, button layout, and fitment in actual device housings. Even the best design can fail in the field if the key spacing or snap feel isn’t right.
Prototypes answer questions like:
- Does it feel good when pressed?
- Are the legends readable and well placed?
- Does it align with PCB contacts?
- Is the webbing responsive and consistent?
| Prototyping Benefits | Why It Matters |
|---|---|
| Tactile Testing | Confirms key feel and force |
| Visual Inspection | Reveals cosmetic and surface flaws |
| Fit & Function Tests | Ensures compatibility with housings |
| Early User Feedback | Improves design based on experience |
A good prototype saves weeks of costly retooling and revision.
What rapid prototyping methods are used for silicone keypads?
Different needs call for different prototyping techniques. Some are fast, others are functional.
Common prototyping methods include 3D printing for visual models, CNC machining for mold inserts, and soft tooling with quick-cure silicone for working samples.
Here’s how we choose the right method:
1. 3D Printed Mockups
We use SLA or FDM printing to produce quick visual models. These are great for ergonomic reviews and early approval.
2. CNC-Machined Silicone Molds
We machine a basic aluminum mold with fewer cavities for quick silicone injection. It offers real feel, color, and function.
3. Soft Tooling (Urethane or Silicone)
Soft tools replicate the final production mold but cost less and build faster. They’re used for short test runs and functional samples.
| Method | Lead Time | Best For |
|---|---|---|
| 3D Printing | 1–2 days | Visual layout and presentation |
| CNC Soft Mold | 5–7 days | Functional silicone samples |
| Urethane Casting | 3–5 days | Pre-production simulation |
We choose the technique based on your timeline, testing needs, and budget.
How fast can you build and test a silicone keypad prototype?
Time is everything when launching a new product. We streamline every step.
With soft tooling and in-house machining, we can deliver fully functional silicone keypad prototypes in as little as 5 to 7 business days.

Here’s our typical prototyping timeline:
- Day 1–2: CAD confirmation and material selection
- Day 3–5: CNC soft mold machining
- Day 6: Silicone molding and post-curing
- Day 7: Surface finish, legends, and shipping
Need something even faster? For simple designs, we’ve turned around express prototypes in 3 days using basic inserts and pre-mixed silicone compounds.
| Step | Timeframe |
|---|---|
| CAD Review | 24–48 hours |
| Tool Machining | 2–3 days |
| Silicone Forming | 1–2 days |
| Finishing & Testing | 1–2 days |
We coordinate closely with your team to match production constraints and testing schedules.
What can you test with a prototype?
A good prototype isn’t just for looks—it answers real performance questions.
Prototypes can be used to test tactile response, PCB compatibility, enclosure fit, backlighting, and even coating durability under early conditions.
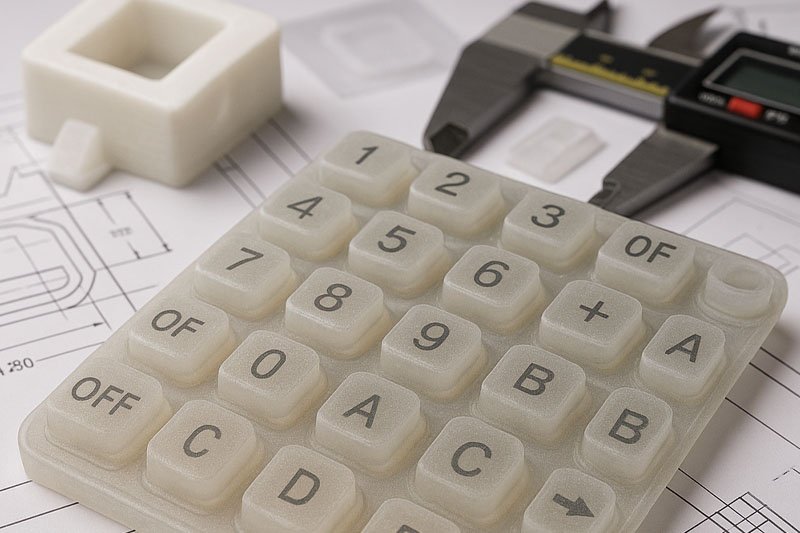
Our prototypes are made with the same silicone grade, hardness, and layout as the final part. That means you can:
- Press-test for tactile force and travel
- Align it with your circuit board or contacts
- Insert it into your device housing
- Run limited environmental or chemical tests
- Test print, coating, or laser-etched icons
| Testing Area | What You Can Evaluate |
|---|---|
| Tactile Performance | Actuation force, snap ratio |
| Mechanical Fit | Alignment with PCB or housing |
| Visual Inspection | Legend accuracy, surface texture |
| Early Field Use | Wear resistance, coating durability |
This helps refine designs before locking in expensive production molds.
How do soft tools differ from production molds?
Prototypes are fast—but not built to last like full tools.
Soft tooling is typically made from aluminum or resin and supports fewer cycles. It’s ideal for testing, but not for long-term mass production.
Soft molds allow us to mold real silicone parts using lower cost and lower pressure. They wear out after hundreds or low thousands of cycles, compared to hundreds of thousands for hardened steel molds.
We recommend soft tooling when:
- You need real silicone samples quickly
- You’re still tweaking the design
- You want short-run production for pilot launches
| Tooling Type | Material | Durability | Use Case |
|---|---|---|---|
| Soft Tooling | Aluminum/Resin | 100–2,000 cycles | Testing, pilot builds |
| Production Tool | Steel (P20/H13) | 100,000+ cycles | Full production |
This keeps upfront investment low while still providing full functionality.
What happens after prototype approval?
Once the prototype is signed off, we shift to full-scale production tooling.
After testing and feedback, the prototype design is finalized. We then create steel molds for long-term, high-volume production with optimized dimensions and webbing.
We take all the learnings from the prototype—feedback on tactile feel, cosmetic finishes, fit—and use them to perfect the production mold. The goal is to lock down a design that performs flawlessly and meets all user and regulatory requirements.
We also use the prototype as a benchmark for future quality checks.
| Post-Prototype Step | Action Taken |
|---|---|
| Final CAD Adjustments | Based on test results |
| Tolerance Fine-Tuning | For better tactile consistency |
| Legend Refinement | For visual clarity |
| Tool Steel Selection | Based on projected order volume |
This stage sets the foundation for a stable, scalable product launch.
Conclusion
Prototyping silicone keypads doesn’t have to be slow or expensive. With the right methods and tools, you can validate design, test function, and accelerate your path to production—all in a matter of days.