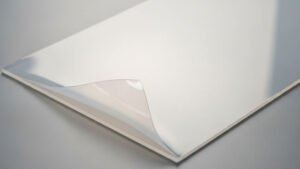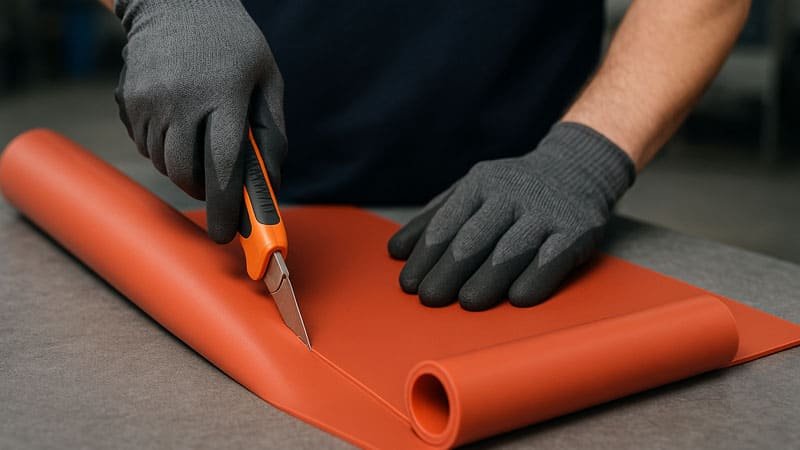
Cutting silicone sheets seems simple—but edge fray and distortion can silently destroy your product quality.
To avoid edge fray or distortion when cutting silicone sheets, use the correct tools, maintain clean blades, stabilize the sheet, control temperature, and match the cutting method to the sheet thickness.
Cutting errors can lead to waste, delays, and failed product batches. I’ve seen how tiny edge flaws affect even high-end products. Let’s go through the most effective ways to avoid those costly mistakes.
Why do silicone sheet edges fray or distort during cutting?
Fray and distortion usually show up when production seems smooth—until defects appear later.
Fraying or distortion happens when silicone sheets move during cutting, blades are dull or wrong, or heat causes material deformation.
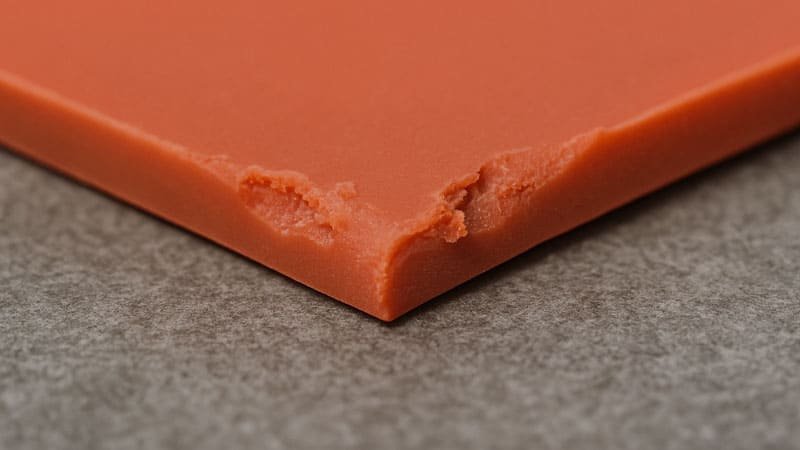
Silicone is flexible and rubbery. That makes it easy to use but hard to cut cleanly. It stretches slightly during cutting. If the blade is dull, it pulls the sheet instead of slicing it. Heat generated by friction or lasers can also warp the edge.
There was a time when we cut hundreds of baby placemats with a laser cutter. We didn’t check the beam temperature. The result? Wavy edges on half the batch. It cost us a full week in remanufacturing.
Which cutting method is best for silicone sheets?
Different methods work better depending on thickness, hardness, and required precision.
Die cutting, water jet cutting, and CNC cutting are ideal for clean edges on silicone sheets. Laser cutting needs precise control to prevent edge distortion.
Let’s break down the pros and cons:
| Method | Best For | Risk of Fray | Notes |
|---|---|---|---|
| Die Cutting | Thin to medium sheets, fast production | Low | Needs sharp, clean dies |
| Water Jet Cutting | Thick or layered sheets | Very Low | No heat, very precise |
| CNC Cutting | Complex shapes, tight tolerances | Low | Slower, but accurate |
| Laser Cutting | Fine detail, small batch | Medium-High | Needs cooling, may burn edges |
| Manual Cutting | Prototypes or small runs | High | Only with strong support layers |
We switched to water jet for our thicker pads. It cut down rejects by 80% and improved consistency across batches.
How does blade condition affect silicone cutting?
A blade doesn’t just cut—it either slices cleanly or drags the silicone apart.
A sharp, smooth blade minimizes friction and slicing pressure, preventing drag and edge tearing in silicone cutting.
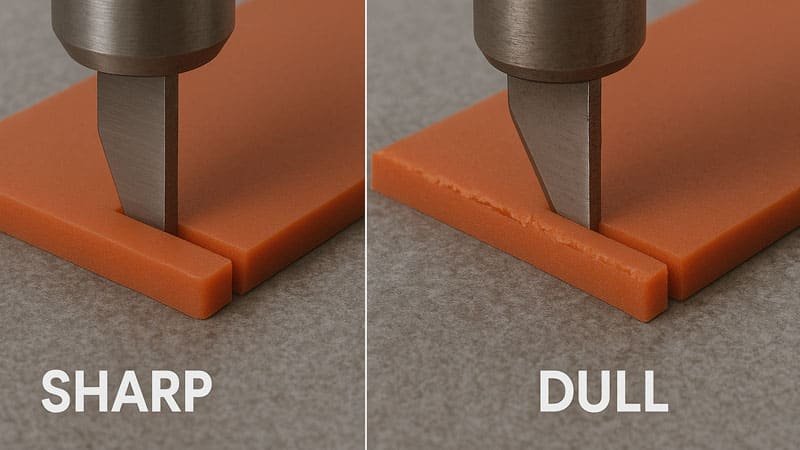
Dull blades crush instead of cutting. This stretches the silicone, leaving it jagged. Even a slightly nicked blade edge can ruin the precision. I always check our blades at the start of each shift. One overlooked nick on a rotary cutter caused multiple frayed edges before anyone noticed.
Changing blades frequently might seem like a cost, but it’s far cheaper than scrapping materials or fixing warped edges.
What role does temperature play in edge distortion?
Heat is silent and often invisible—but it warps silicone easily.
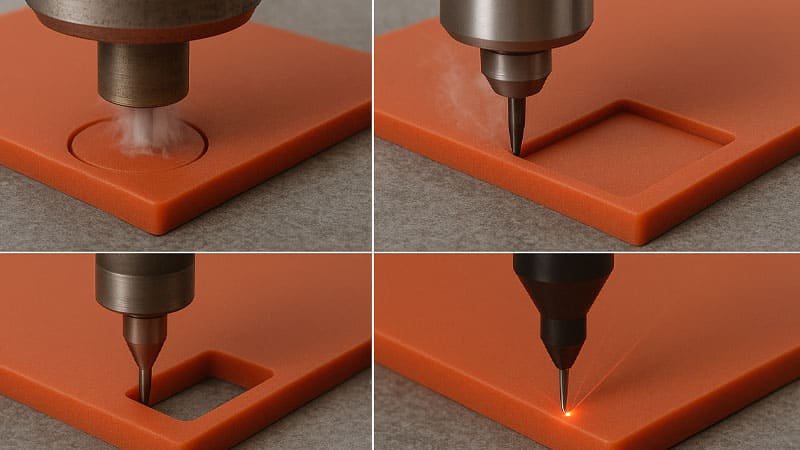
Excessive heat during cutting softens the silicone, causing the edges to warp, melt, or curl.
Laser cutters, friction from fast blades, or even prolonged contact with heated surfaces can raise the temperature past the silicone’s thermal stability. Some silicone formulas start to deform at just 200°C.
We had to install external air coolers in our laser system just to keep the edge crisp. For manual cuts, I recommend cutting in a cool, shaded area and keeping blades away from direct sunlight.
How to support the silicone sheet during cutting?
A moving or unsupported sheet turns clean cutting into guesswork.
Proper sheet stabilization prevents shifting, stretching, or folding, leading to precise and consistent cuts.

Silicone is heavy and can droop, especially in large rolls. When you cut without full support, the material can pull to one side. This makes the blade go off-track.
I use vacuum beds or adhesive mats when working with thin sheets. For thick sheets, even clamps help. Supporting the entire cutting path is the best way to ensure consistent results.
How does sheet thickness affect cutting technique?
Thicker silicone needs power. Thinner sheets need control.
The cutting technique must be matched to the silicone thickness to avoid tearing or edge collapse.

For thin sheets (under 2mm), sharp blades or lasers can work—but they need speed and stabilization. For thick sheets (above 5mm), die cutting may not go deep enough. Water jet or CNC milling does better.
We tried die cutting a 10mm sheet once. It half-cut and half-tore. Since then, we always evaluate the thickness before choosing a tool. Getting that right can mean the difference between smooth edges and total edge collapse.
What are the best practices to follow before cutting?
Preparation saves time. Skipping prep leads to mistakes.
Clean, measure, and stabilize the silicone sheet before cutting to ensure clean edges and reduce errors.
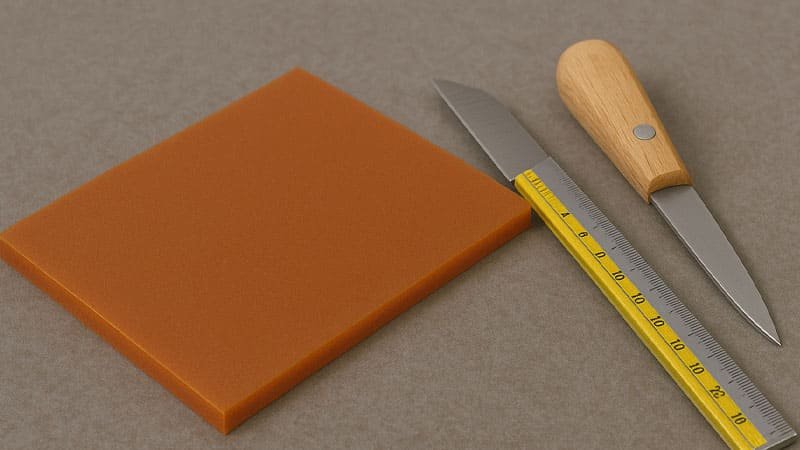
Here’s my prep checklist before every cutting session:
- Clean the sheet – Dust or oils interfere with friction and cause blade skipping.
- Flatten the sheet – Roll curl can cause uneven edges.
- Mark the path – Use a light, non-staining marker or digital guides.
- Test cut – Always cut a small corner first.
- Stabilize the sheet – Use mats, clamps, or a vacuum hold.
- Check your blade/tool – Make sure it’s sharp and clean.
These steps might take 10–15 minutes. But they save hours in quality control later.
How to inspect cut quality after processing?
Cutting isn’t over until the final check is done.
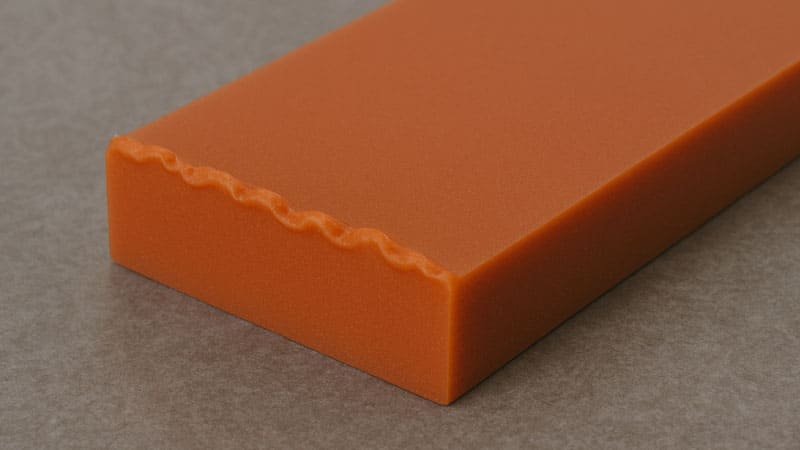
Check for smooth edges, consistent shape, and no burn marks to confirm quality cutting of silicone sheets.

I recommend checking at least 10% of each batch visually and by hand. Feel the edge. A smooth edge feels like a clean, soft line. A frayed one feels jagged. Use magnifying lenses for fine parts.
If you see micro-bubbles or edge curls, it often means overheating. Re-check your settings immediately. We once ignored a curl issue and found out the whole batch was rejected later by our client.
Conclusion
Avoiding edge fray in silicone cutting comes down to preparation, correct tools, and consistent inspection.