Resin art is one of the hottest trends in creative DIY projects, and for good reason. It’s fun, versatile, and can turn ordinary objects into stunning, high-gloss works of art. If you’re new to resin art, silicone molds are your best friend. They make the process easy, smooth, and help you achieve professional results even as a beginner.
So, how can you get started with resin art using silicone molds? The answer is simple: patience, the right materials, and a little creativity. Silicone molds are durable, flexible, and designed to make the demolding process a breeze. Here are some tips and tricks to help you get the best results.
Getting the right supplies and following a few simple steps will ensure you create amazing resin pieces every time. Ready to dive in? Let’s go!
What You Need to Get Started
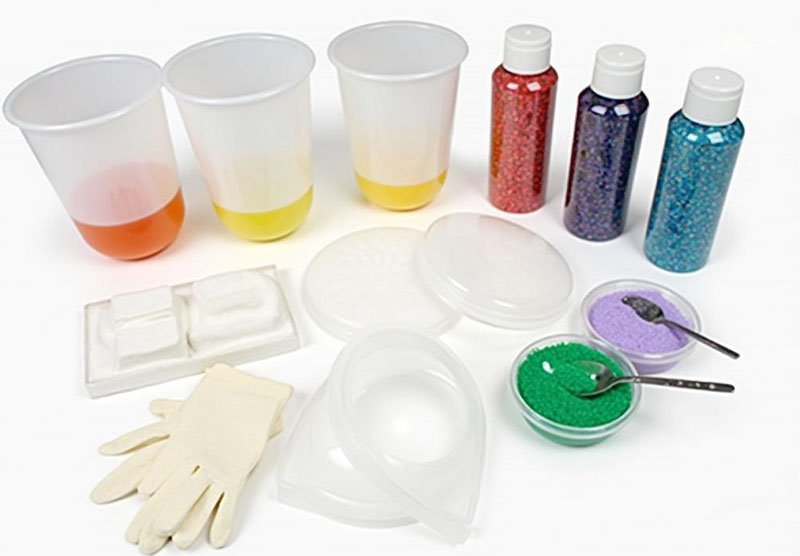
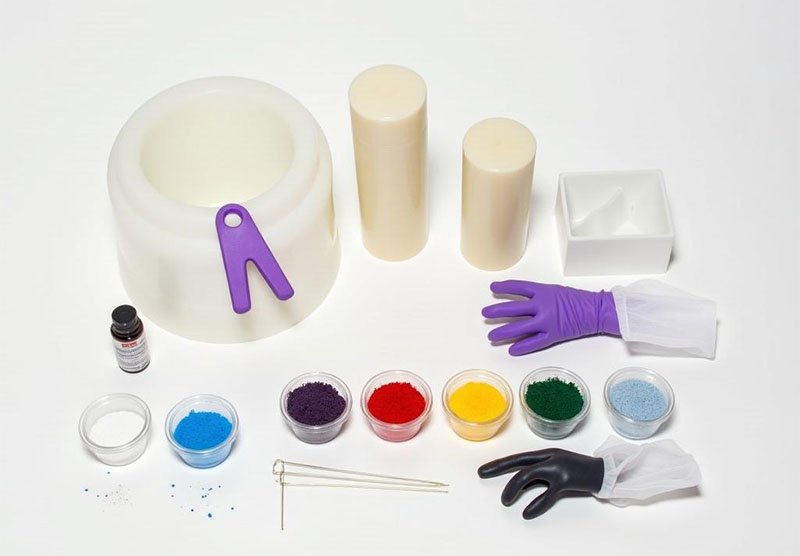
Before you even open your resin kit, it’s essential to gather the right materials. Here’s a basic list of what you’ll need:
- Resin and Hardener: Always choose high-quality resin for clear results.
- Silicone Molds: These are your canvas for creativity. Choose molds that suit the design you want.
- Mixing Cups and Sticks: For precise measurements and mixing.
- Gloves and Mask: Resin can be messy and sometimes has strong fumes, so protect yourself.
- Colorants and Additives: From pigments to glitter, these add the magic to your resin pieces.
Once you have everything ready, you’re all set to start experimenting with your resin art!
Why Silicone Molds are Perfect for Resin Art
Silicone molds are flexible, durable, and non-stick, making them ideal for resin art. Unlike traditional molds, silicone molds can be bent or flexed to help release your pieces with ease—no scraping or cutting required. Plus, they come in a variety of shapes and sizes, so the design possibilities are endless.
The flexibility of silicone also helps maintain the integrity of your resin art. Unlike plastic molds, which can sometimes crack or break under pressure, silicone molds stay intact even after numerous uses.
Preparing Your Silicone Molds
To get the best results, preparation is key. Start by cleaning your silicone molds thoroughly. Dust, dirt, or oils can interfere with how the resin cures. Simply wipe them down with a lint-free cloth or mild soap and water to ensure the surface is clean.
If you want to ensure an even smoother finish, you can lightly spray the inside of the mold with a mold release agent. This is optional, but it can help with the demolding process and extend the life of your molds.
Mixing Your Resin Like a Pro
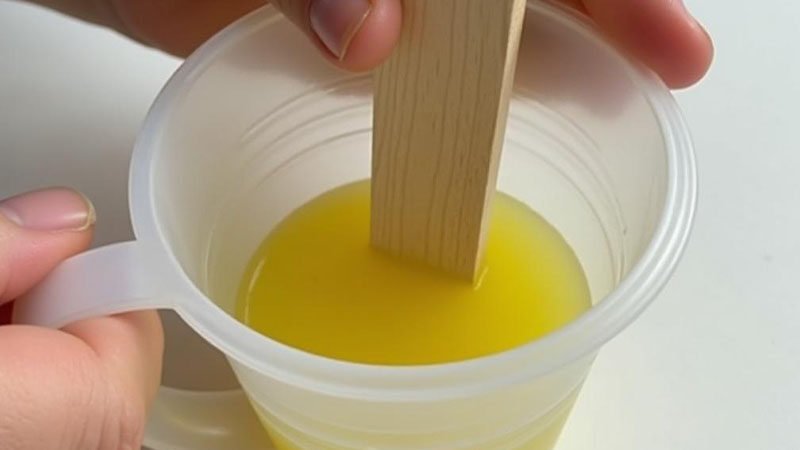
The next step is mixing the resin and hardener. Follow the manufacturer’s instructions carefully. Usually, resin and hardener are mixed in a 1:1 ratio, but this can vary depending on the brand. It’s important to measure the resin precisely and stir thoroughly to avoid bubbles or inconsistencies in the final product.
Tip: Mix slowly! Stirring too fast can introduce air bubbles into the resin, which can be tricky to remove later. Once mixed, let the resin sit for about 5 minutes to allow any trapped air bubbles to rise to the surface before pouring.
Pouring Resin into Silicone Molds
When it comes to pouring the resin into your molds, take your time. Pour slowly to avoid overflows, and make sure to fill the mold evenly. If you’re working with multiple colors or layers, let the first layer cure slightly before adding another.
For added effects, you can even swirl different colors together or add decorative items like dried flowers, glitter, or beads before the resin fully sets. Just make sure to avoid overcrowding the mold, as it can interfere with the resin’s ability to cure properly.
Demolding and Finishing Touches
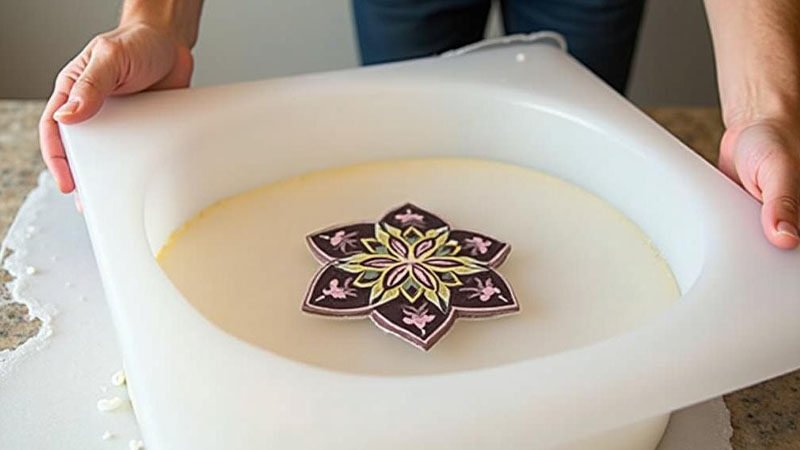
After your resin has fully cured (this can take 24-48 hours depending on the thickness of your project), it’s time to demold. The best part about silicone molds is that they’re super flexible, so you won’t need to pry or force the resin out.
Simply gently peel back the mold, and your beautiful resin piece should come out easily. If there are any rough edges, you can smooth them out with sandpaper for a polished finish. You can also add a clear top coat to give your art an extra glossy shine.
Troubleshooting Common Issues with Resin Art
Even with silicone molds, things don’t always go perfectly. Here are some common issues and how to solve them:
- Bubbles in the Resin: If you end up with bubbles in your resin, don’t panic! Simply use a heat gun or torch to lightly pass over the surface. The heat will cause the bubbles to pop.
- Sticky Resin: If your resin is still sticky after curing, it’s likely the resin to hardener ratio was off. In the future, double-check your measurements.
- Overfilled Molds: If you’ve poured too much resin into a mold, it may spill over. Always leave a little room at the top of the mold for expansion.
Conclusion
Resin art with silicone molds is a fantastic way to unleash your creativity. Whether you’re making jewelry, home décor, or unique gifts, silicone molds help make the process easy and enjoyable. By following these tips and tricks, you’ll be well on your way to creating stunning resin art pieces in no time.