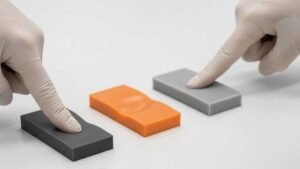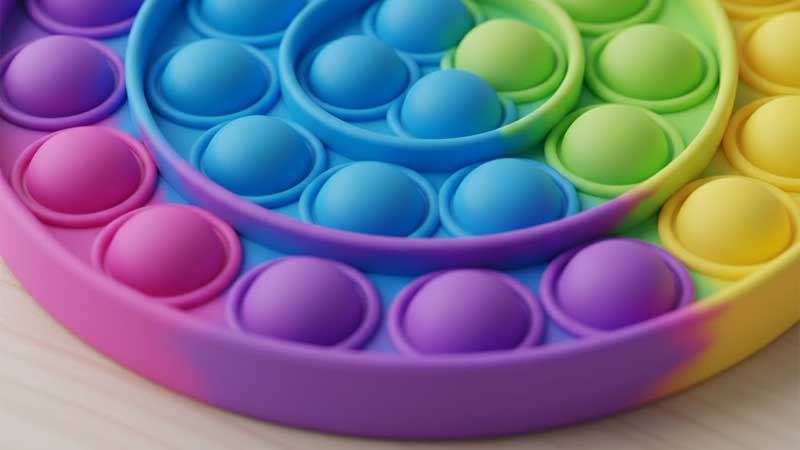
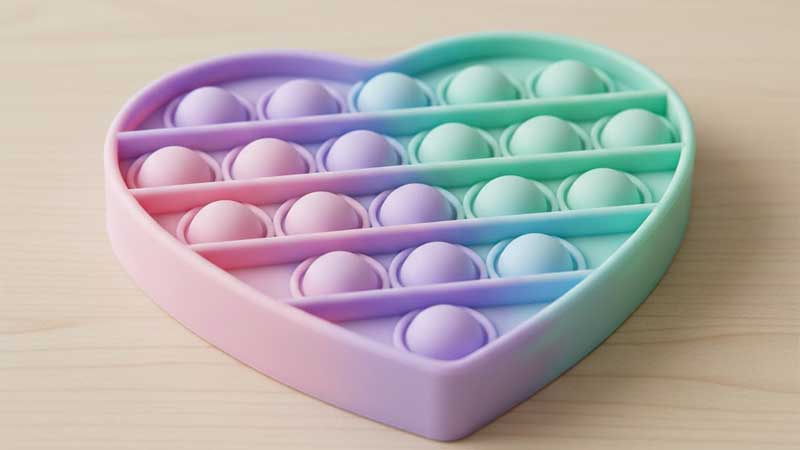
Pop Its are dead simple on paper: a flat silicone sheet maybe 120–200 mm across, punched with 20–100 hemispherical bubbles (usually 12–20 mm diameter, 8–12 mm tall) in grids, rounds, hearts, dinosaurs, whatever the trend is. Press a bubble from the convex side—it inverts with a sharp pop and a tactile click; flip the whole thing and repeat forever. No batteries, no loose parts, endless loop.
I first saw these blow up in late 2020 when factories in Dongguan and Yiwu suddenly had 40–60 compression presses running 24/7 just for Pop Its and Simple Dimples. Demand peaked hard, then dipped, but never really died—good ones still move because they’re legitimately useful.
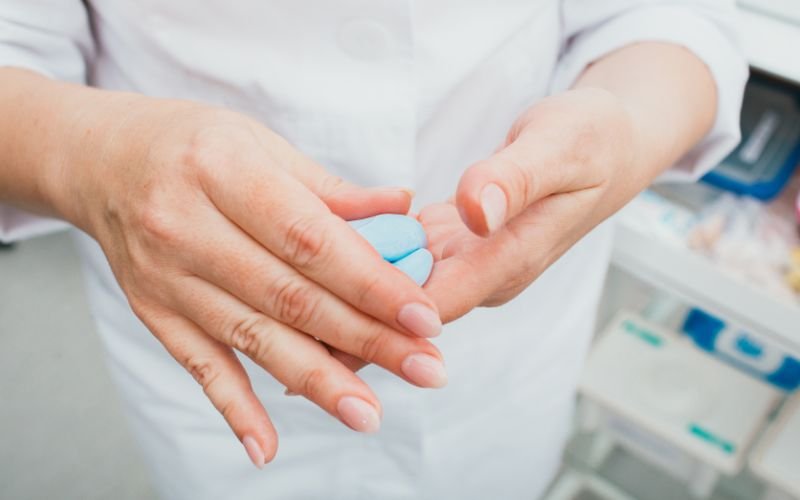
Elementary schools buy bulk for sensory bins (ADHD kids, autism spectrum, fine motor therapy). Offices get them as desk toys for adults who fidget during endless Teams calls. Therapists hand them out for anxiety grounding exercises.
Why Platinum-Cured Food-Grade Silicone Wins?
We standardize on platinum-cured HTV (high-temperature vulcanizing) silicone, Shore A 35–45, food-grade or LFGB certified. Why not the cheaper peroxide-cured stuff everyone tries at first?
Platinum gives:
- No curing byproducts—no acidic smell, no yellowing after six months in a hot car.
- Better clarity for pastels/rainbows (peroxide hazes up fast).
- Higher tear strength (Die B tear >20 kN/m vs peroxide’s 15–18).
- Cleaner elongation and snap-back—bubbles return 100% after 15,000+ cycles.
- Zero volatiles post-cure, so no off-gassing complaints.
Peroxide-cured? Cheaper raw ($8–12/kg vs $12–18), longer shelf life before mixing, cures a bit faster in some setups. But it leaves peroxide residues that can make parts smell faintly chemical when warm, and bright colors fade or discolor quicker. We’ve run peroxide on low-end bulk orders (plain black/white for promo giveaways), but for anything kid-facing or branded, platinum is non-negotiable—parents scan for certifications now.
Durometer sweet spot: 38–42A for most. Below 35A tears easy (kids gouge with nails); above 45A feels like pushing rocks—adults hate it, kids give up. Wall thickness on bubbles: 1.3–1.7 mm uniform. Thinner = softer pop but faster fatigue; thicker = durable but stiff.
Quick real-batch comparison we’ve tracked:
| Property | Platinum-Cured (Standard) | Peroxide-Cured (Budget Runs) |
| Post-cure odor | None | Faint chemical linger |
| Color stability | Excellent—pastels hold 2+ years | Yellows/fades in brights after ~6 mo |
| Cycle life (tested) | 15k–25k pops before >10% force drop | 8k–12k |
| Tear resistance | High—survives twisting/kid abuse | Moderate—rips sooner |
| Clarity in clears | Crystal, great for glitter embeds | Slight haze |
| Cost impact | +20–30% on material | Saves upfront, but higher rejects |
The Real Production Walkthrough
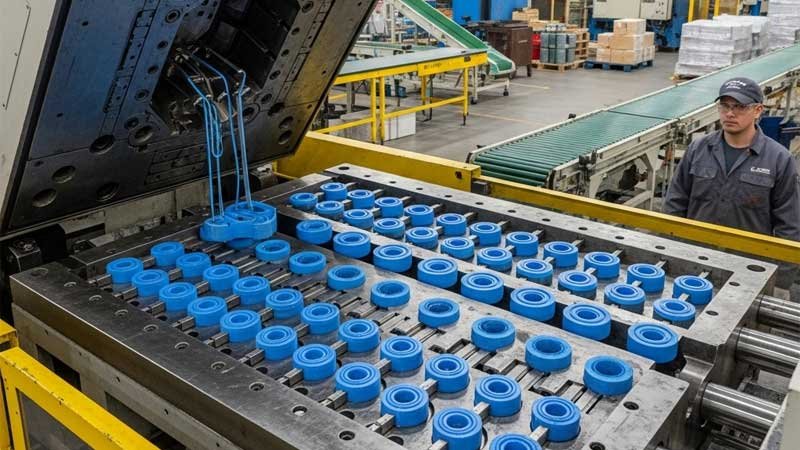
99% of volume Pop Its come off compression molding lines—LSR injection for tiny custom runs or ultra-precise stuff, but too expensive for scale.
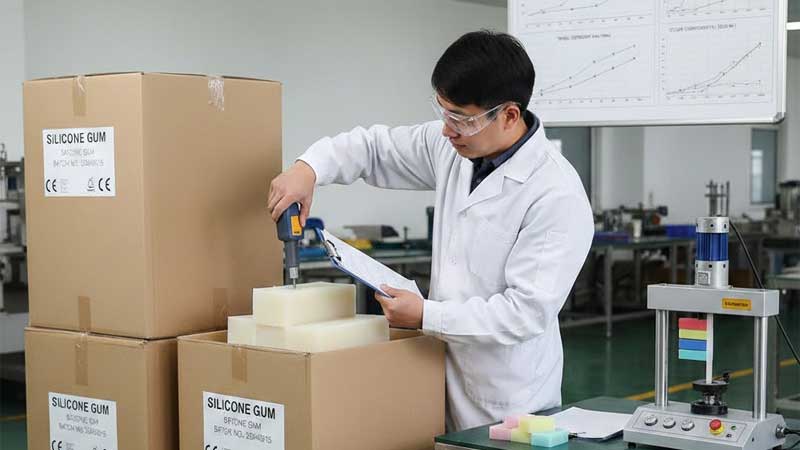
Raw Material Intake & Prep
Silicone arrives in 20–25 kg boxes or coiled strips. Incoming QC: check batch certs for hardness, tensile, volatiles. Reject if smell is off or color masterbatch inconsistent.
Weigh slugs precisely: ±1.5–2 g tolerance per shot. A 150 mm round Pop It might need 180–220 g depending on bubble count/thickness. Over by 5 g? Flash nightmare. Under? Short shots, missing bubbles.
Two-roll mill mixing: 20–45 minutes. Add 1–2% platinum catalyst + pigment paste. Bright reds, oranges, yellows, greens are the killers—pigment agglomerates cause flow lines. Extend mill to 35+ min or use pre-dispersed masterbatch (costs more but saves rejects). We’ve lost entire morning shifts to orange streaks until switching masterbatch suppliers.
Mold Setup
Aluminum or chrome-plated steel molds, 300–500 cavities for big boards. Pre-heat to 170–185°C. Mold surface polished to SPI A1–A2—any scratch shows up. Vent grooves + overflow channels everywhere.
Loading & Vacuum
Drop centered slug (or use pre-forms for multi-color). Close press slowly while vacuum pulls (–0.08 to –0.09 MPa) 5–15 seconds to evacuate air. Skip vacuum? Air pockets in 20–40% of bubbles—voids kill the pop.
Cure Cycle
Clamp 80–160 bar (depends on mold size). Hold 60–180 seconds. Platinum is forgiving—over by 20 s usually ok; peroxide more sensitive to scorch. Cure too short? Tacky surface. Too long? Brittle edges.
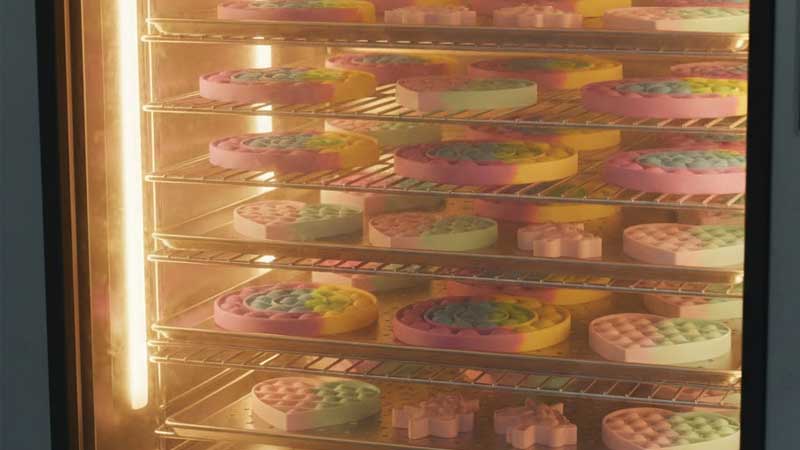
Demold & Post-Process
Demold warm (silicone springs). Cryogenic tumble (liquid N₂) or hand-trim flash. Post-cure oven: 180–200°C for 2–4 hours removes any trace volatiles, boosts strength 10–15%. Then wash (ultrasonic + neutral detergent), dry, inspect.
Daily QC Routine
- Hardness gauge on scrap tabs (every mold).
- Pop cycle rig: 500–1,000 manual/machine pops per batch sample.
- Caliper bubble walls (±0.05 mm).
- Spectrophotometer color delta E <1.0.
- Drop test 1.5 m on concrete.
- Visual under 5000K lights for flow lines, voids, flash.
Customization – What Actually Costs Extra & Why
Customization sounds sexy on paper—your logo, funky shape, branded colors—but on the floor it’s mostly pain and extra cash. Here’s what hits the wallet hard and why.
- Shapes: Basic round or square boards? Tooling sits at $6k–10k for a decent multi-cavity aluminum mold (say 50–100 cavities to keep cycle time sane). That’s because the cavities are simple hemispheres, easy CNC machining, minimal undercuts. Go custom dino, unicorn, animal outline, heart with ears? Boom—$12k–25k, sometimes $30k if it’s got deep undercuts or thin fragile features that need slides or collapsible cores. Why the jump? Complex shapes mean more machining time, tighter tolerances to avoid flash at weird parting lines, and often steel inserts instead of plain aluminum for longevity. I’ve quoted a full T-Rex Pop It—mold ran $22k because the tail had to be a separate insert to prevent tearing on demold. Customer wanted 5k units; amortized it’s ~$4/piece extra upfront. Skip complex if you’re under 20k run—stick to rounds and save the tooling grief.
- Colors: Single-shot solid color? Standard—no real upcharge beyond pigment cost (maybe +5–10%). But rainbow layers, marbled effects, or overmolding (one color base, another for bubbles)? +40–60% on production cost easy, and defect rate jumps 2–3x. Overmolding needs two shots or insert molding—extra press time, perfect alignment, or you get mis-registration and ugly seams. We’ve had rainbow runs where the second color bled into the first because cure temps didn’t match—whole batch scrapped. Multi-color also means more pigment waste and cleaning between shots. If you’re dead set on it, prototype single first.
- Glitter / Glow-in-the-Dark: Must encapsulate the additives in the base silicone—loose glitter migrates out over time, gets on kids’ hands, fails LFGB/food-grade certs hard. Encapsulation adds mixing steps, sometimes a masterbatch surcharge (+15–25%). Glow powder (strontium aluminate types) is pricey ($50–100/kg) and needs even dispersion or you get dark spots. Seen glitter versions where particles settled during mill—bottom of batch sparkly, top dull. Fix: heavier mill time or pre-dispersed glow masterbatch, but that bumps cost another 10–20%.
- Firmness Tweaks: Small durometer shifts (e.g., 38A to 42A for firmer adult pop) via base/catalyst ratio or different gum blend—no huge tooling cost, but requires 5–10 kg pilot batches to dial in. Customers feel every 3–5A difference—too soft and bubbles sag after 100 pops; too firm and thumbs cramp. We’ve run firmness ladders: send samples at 35A, 40A, 45A—client picks, then lock it. Adds $200–500 in sampling but saves returns.
- Printing / Logos: Pad printing with silicone-specific ink (low-temp cure, flexible)—$0.10–0.30 extra per piece depending on colors. Ink has to bond without cracking after flexing. Multi-color logos? Double the pad hits, higher reject rate. We’ve done embossed logos (mold-engraved)—cheaper long-term but upfront mold etch adds $1k–2k.
Prototype tip (gold rule): Always run clear/no-pigment first to nail wall uniformity and pop feel. Color hides nothing—flow lines, voids, thickness variation show up brutal in clear. Once walls are perfect, add pigment. Saves wasting expensive colored batches on bad molds.
Defects We Battle Daily – More Stories & Real Fixes
These aren’t textbook; they’re the crap that stops lines and costs money. Here’s the big ones with war stories.
- Flow lines / tiger stripes — Red, orange, yellow, bright green worst offenders. Cause: uneven pigment flow + high shear during mold fill. Pigment clumps don’t disperse if mill time short; heat-sensitive masterbatch scorches at high temps. Fix: Extend mill to 35–45 min, drop mold temp 10–15°C (from 185°C to 170–175°C), switch to pre-dispersed masterbatch (costs more but consistent). Seen factories scrap 30–40% of a red run—streaks everywhere. Switched suppliers to better masterbatch; next batch clean. Orange is notorious—pigment particle size matters; cheap stuff agglomerates.
- Voids / air bubbles trapped in bubbles — Air pockets during load ruin the pop (feels mushy). Cause: no vacuum or poor venting. Fix: Vacuum chamber pull to –0.08–0.09 MPa for 10–15 sec before full clamp; add vent slots/overflow grooves around cavities. Without vacuum? 15–30% scrap easy. One run we forgot vacuum assist—half the board had invisible internal voids; only found after cycle testing. Pain.
- Flash — Thin excess silicone at parting line or ejector pins. Cause: slug overweight by even 3–5g, worn mold (parting line gaps after 5k–10k shots), insufficient clamp pressure. Fix: Weigh slugs ±1–2g tolerance, polish mold every 5k shots (or sooner for abrasive colors), check clamp tonnage. Worn molds = constant flash; we’ve cryo-deflashed thousands to salvage. Manual trim kills efficiency.
- Sink marks — Depressions where thick base meets thin bubble walls—uneven shrink during cool. Cause: Wall thickness variation >0.2 mm or no ribs/supports under thick areas. Fix: Keep everything 1.3–1.8 mm uniform; add subtle under-ribs in design. Thick logos or bases sink bad—seen deep dimples in center after heat age.
- Inconsistent pop force — Some bubbles soft, some stiff. Cause: Wall variation ±0.1 mm from mold wear or uneven pressure. Fix: CNC-machined molds over EDM for precision (EDM leaves micro-roughness that affects flow). Caliper every cavity during QC.
- Yellowing / faint chemical smell — Peroxide-cure residue breaking down. Fix: Switch platinum-cure, full post-cure 180–200°C for 3–4 hrs. Peroxide cheap but yellows brights fast—swapped after customer complaints.
- Tacky / sticky surface — Under-cure. Cause: Short cycle, old catalyst, low mold temp. Fix: Extend cure 20–30 sec, freshness-check catalyst weekly. Tacky parts feel gross—kids notice.

Durability – What We Actually Test For
Good Pop Its aren’t one-and-done; they take abuse. We don’t just guess.
Automated pop rig: pneumatic plunger cycles 5k minimum pass, target 15k–25k before >10% force drop or visible wear. Run 24/7 on samples.
Heat age: 70°C oven for 72 hrs—no softening, no yellowing, no odor spike.
Cold soak: –20°C for 24 hrs—no cracking when flexed cold (kids leave in car winter).
Crush/drop sim: 1.5 m drops on concrete, repeated compressions. Failures 90% thin walls (<1.2 mm) or poor cure—bubbles tear or deform.
We also do accelerated aging (higher temp/humidity) to mimic 1–2 years shelf/use. ASTM F963 toy standards creep in for kids’ versions—small parts, torque tests, etc. Seen cheap ones fail 2k cycles—good platinum ones hit 20k+ easy.
Conclusion
Pop Its look toy-simple—grid of bubbles, pop pop pop—but the gap between landfill junk and reorder gold is obsessive detail on boring shit: slug weight to the gram, mill time to the minute, vacuum pull to the second, mold temp held ±5°C. Pick platinum food-grade every time, obsess over pigment dispersion (brights are evil), vacuum like your bonus depends on it, post-cure religiously, test batches until your thumbs blister.
Factories that shortcut—cheap peroxide, no vacuum, worn molds—end up with returns, 1-star Amazon rants, lost school/therapy contracts. The ones that nail it? Steady reorders from educators, fidget wholesalers, even big therapy suppliers.