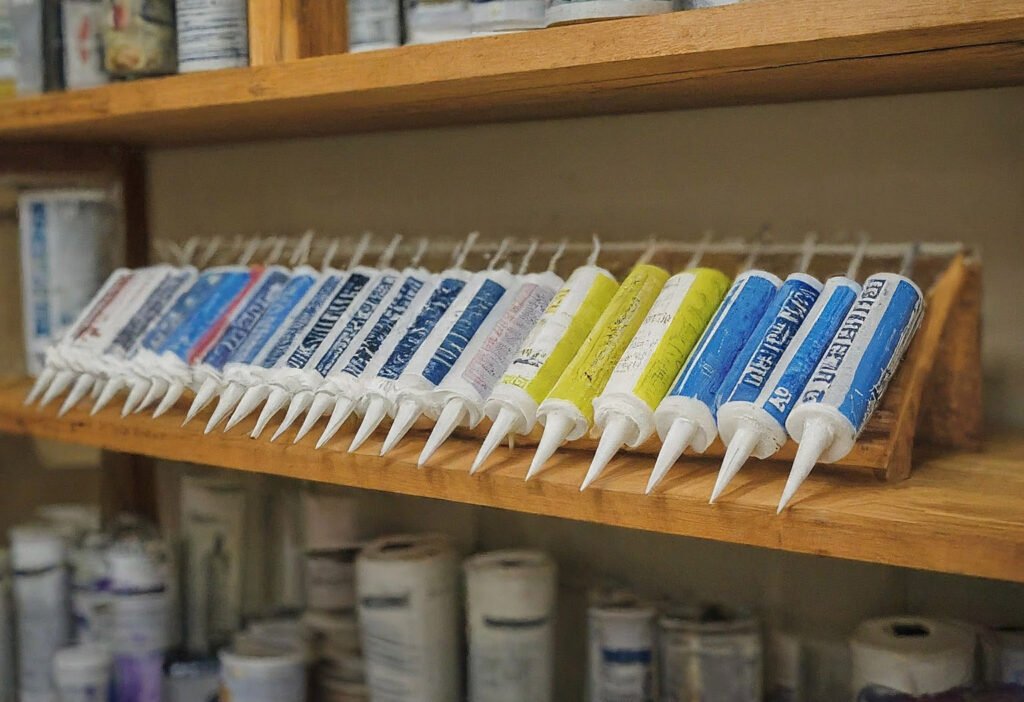
In home repairs and renovations, silicone sealant is a staple for waterproofing, sealing gaps, and insulating. Whether you’re dealing with a bathroom, kitchen, or window frames, sometimes a fresh layer of silicone is necessary over an existing one. This raises a crucial question: can you effectively apply a new layer of silicone over an old one without compromising the integrity and effectiveness of the seal?
Yes, you can apply silicone over new silicone, but the success of this depends heavily on the preparation of the existing silicone surface. Proper cleaning and preparation ensure that the new silicone adheres well and forms a durable, waterproof seal.
Let’s explore the steps and considerations for applying silicone over an existing layer to ensure a successful application.
Why Might You Need to Apply Silicone Over Silicone?
There are several reasons you might need to apply new silicone over old:
- Repair: To fix leaks or gaps that have reappeared due to incomplete sealing or wear.
- Reinforcement: To strengthen an existing seal that might be thin or underperforming.
- Aesthetic improvement: To improve the appearance of silicone that has become discolored or moldy.
What Are the Key Steps to Ensure Good Adhesion?
Good adhesion is crucial when applying new silicone over old. Here’s how to prepare the surface:
- Clean the Area: Remove any dirt, grease, or soap residue from the old silicone. Use a degreaser or alcohol wipes for effective cleaning.
- Dry the Area Completely: Ensure that the surface is completely dry before applying new silicone.
- Roughen the Surface: Lightly sand the old silicone with fine-grit sandpaper to create a rougher surface that will help the new silicone adhere better.

What Should You Avoid When Applying New Silicone Over Old?
To avoid potential problems when applying new silicone over old, keep the following in mind:
- Do not apply over completely degraded or loose silicone: If the old silicone is peeling, crumbling, or lifting, it should be completely removed and replaced rather than overlaid.
- Avoid mixing different types of silicone: For best results, use the same type of silicone for both the old and new applications.
How Do You Apply the New Layer of Silicone?
Applying the new layer of silicone involves these steps:
- Cut the nozzle to the right size: This ensures that the bead of silicone is neither too thick nor too thin.
- Apply the silicone smoothly and evenly: Use a caulking gun to apply the silicone in a continuous line.
- Smooth the silicone: Wet your finger or a caulking tool and gently run it over the fresh silicone to smooth it and remove excess.
Can You Paint Over Silicone?
Silicone does not hold paint well, so if aesthetic matching is necessary, consider using a paintable silicone blend or covering the area around the silicone with tape when painting.
How Long Should You Wait Before Using the Area?
After applying new silicone, wait at least 24 hours before exposing the area to water or moisture. This allows the silicone to cure fully and ensures the strength and waterproofness of the seal.
Are There Special Types of Silicone for Different Applications?
Yes, there are specialized types of silicone for different needs:
- High-temperature silicone: Best for areas around stoves and heating appliances.
- Mold-resistant silicone: Ideal for damp areas like bathrooms and kitchens.
Conclusion
Applying new silicone over an existing layer can be an effective way to enhance and refresh a seal. By carefully preparing the surface and applying the silicone properly, you can ensure a durable and reliable seal that lasts. Remember, the key to success lies in surface preparation and choosing the right type of silicone for the job.