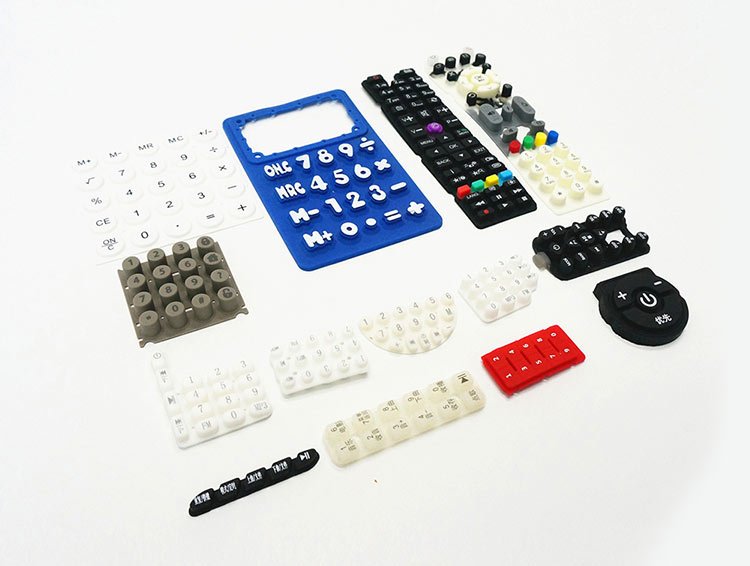
Silicone keypads look simple, but their production involves precise engineering. Understanding the manufacturing process helps ensure the best quality for function and durability.
Silicone keypads are made through a multi-step process involving mold design, raw material preparation, compression molding, curing, and finishing to ensure durability, flexibility, and performance.
Silicone keypads are used in everything from remote controls to medical equipment. To meet strict industry standards, the production process must be controlled from start to finish. Let me walk you through how we do it at RuiYang Silicone, with real insight from our factory floor.
Why does mold design matter in silicone keypad manufacturing?
Without a precise mold, every other step fails. Mold design determines the keypad’s shape, feedback, and lifespan.
Mold design is the blueprint of the keypad. It defines the tactile feel, button shape, and tolerances. A precise mold ensures consistent, high-quality production.
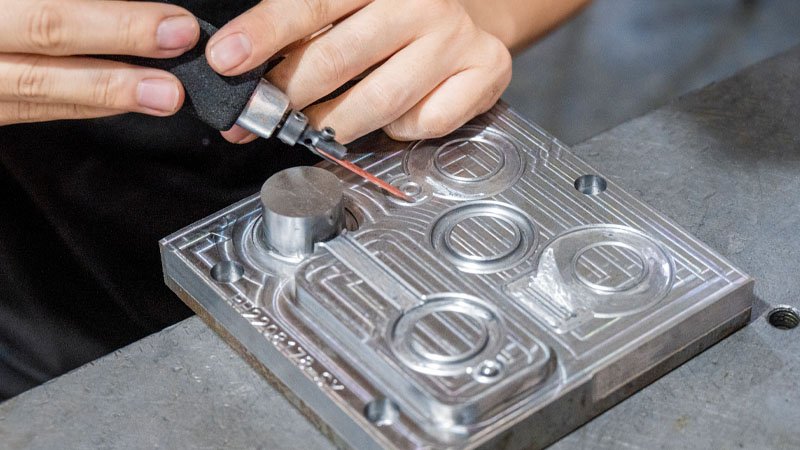
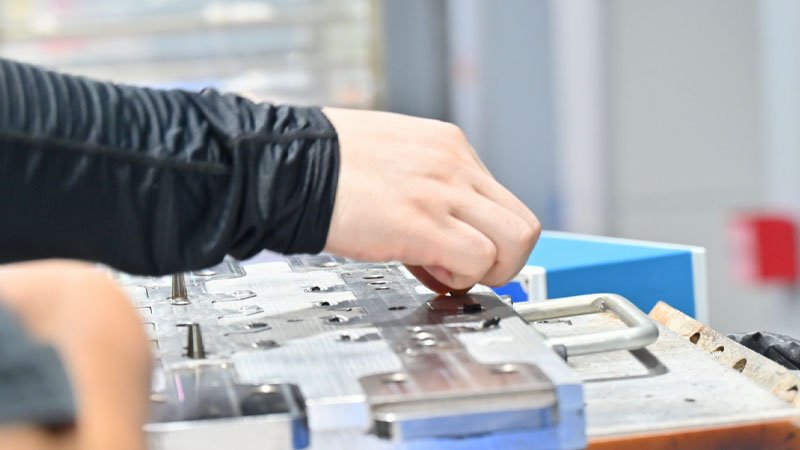
We always start with the mold. Our engineers use CAD software to create detailed 3D models based on the keypad’s layout. These designs include dimensions, key travel distance, and pressure force. Once the design is finalized, we move to CNC machining. Steel or aluminum is used depending on the volume and complexity of the design.
Here’s why the mold is so important:
Key Features of a Good Mold
| Feature | Function |
|---|---|
| Key travel depth | Determines how far a key can be pressed |
| Webbing thickness | Affects tactile feedback and rebound speed |
| Venting system | Ensures air escapes during molding |
| Ejection system | Allows smooth release of molded parts |
If there’s even a small miscalculation in mold design, it can lead to inconsistent key response or faulty parts. That’s why we spend a lot of time perfecting this first step.
What raw materials are used for silicone keypads?
The choice of silicone compound affects everything from color to touch to heat resistance.
High-quality silicone rubber—usually medical or food-grade—is used. Additives are blended in for color, durability, and conductivity when needed.
After mold design, we move on to material prep. We use solid silicone rubber. For most keypads, we prefer high-purity VMQ (vinyl methyl silicone) because of its flexibility and resilience. Color pigments, curing agents, and additives like carbon for conductivity are added during this stage.
We mix these materials in a two-roll mill. This ensures even distribution and consistency. The rubber must be soft enough to flow into the mold yet strong enough to hold shape after curing.
Common Material Additives
| Additive | Purpose |
|---|---|
| Pigments | Adds color |
| Peroxide or Platinum | Acts as a curing agent |
| Conductive carbon | Enables switch functionality |
| Flame retardants | Meets safety standards |
Every batch is tested for hardness, tensile strength, and color accuracy before moving to molding.
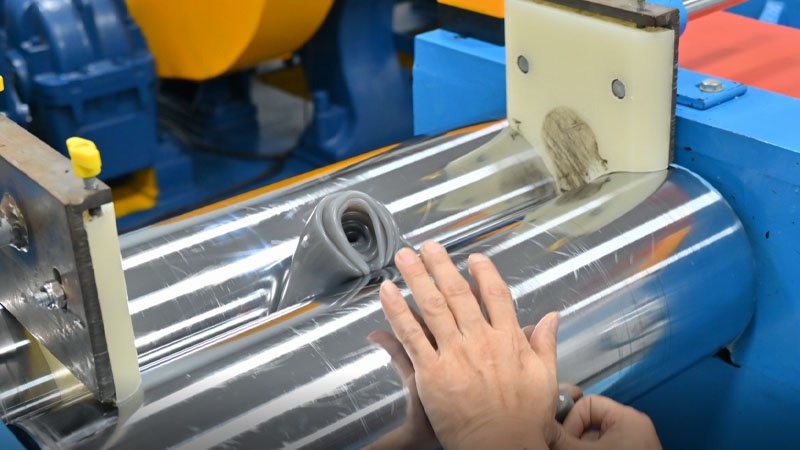
How does compression molding shape the keypad?
This is where everything comes together—pressure, heat, and time shape the final keypad.
In compression molding, pre-formed silicone is placed in the mold. Under high heat and pressure, the material takes the mold’s shape. This step forms the keypad structure.
In our factory, each silicone pad is cut to a specific weight and size. These are manually placed into the mold cavities. Then, the mold closes and heat is applied—usually between 170°C to 200°C. Pressure follows, often around 100-200 tons depending on the size and complexity.
The combination of heat and pressure causes the silicone to flow and fill every corner of the mold. After curing inside the mold, the keypad is removed and examined.
Compression Molding Parameters
| Parameter | Typical Range |
|---|---|
| Temperature | 170°C – 200°C |
| Pressure | 100 – 200 tons |
| Curing Time | 2 – 5 minutes depending on size |
Compression molding allows for tight tolerances and complex features like tactile domes and ridges. It’s a slow process but ideal for high-quality, custom designs.
What happens during post-curing and finishing?
After molding, keypads need extra steps to enhance performance and appearance.
Post-curing improves heat resistance and outgasses volatile components. Finishing includes trimming, laser etching, and coating for durability and aesthetics.

Anti-Microbial Silicone Keypads for Cleanliness and Hygiene
- In-built anti-microbial agents
- Easy-to-clean surface
- Resistant to harsh chemicals
- Long-lasting protection against germs
Once keypads come out of the mold, they enter the post-curing oven. This step is important. It stabilizes the silicone and removes residues that could affect smell or performance. We bake them at 200°C for 2-4 hours depending on material thickness.
Then we move to trimming. Excess material, called flash, is manually or automatically removed. After that, we do surface finishing. This could be:
- Laser etching for backlit icons
- Silk-screen printing for labeling
- PU coating for scratch resistance
- Matte finishes for improved grip
We also test the tactile force using a force-displacement machine. If the buttons don’t feel right, they don’t pass.
Post-Processing Overview
| Step | Purpose |
|---|---|
| Post-curing | Improves heat and aging resistance |
| Trimming | Removes flash and sharp edges |
| Coating | Protects surface from wear |
| Testing | Ensures functionality and feel |
This is the final step before packaging and shipping to clients. We never skip quality checks.
Conclusion
Every silicone keypad starts with careful design and ends with precise finishing. Each step matters to ensure safety, durability, and user satisfaction.