People often describe Silicone Transfer Molding as a balanced process.
From our side of the factory floor, STM is less about balance and more about control.
We usually turn to transfer molding when compression molding starts to feel unpredictable, and injection molding feels unnecessary or too expensive for the volume. Most STM projects come to us with one clear requirement: the part must be right the first time, not after multiple assembly or correction steps.
This article does not explain STM the way textbooks do. It explains how STM actually behaves during mold trials, small-batch production, and real customer projects.
What Is Silicone Transfer Molding?
Silicone Transfer Molding (STM) is a process where uncured silicone is pushed from a transfer pot into a closed, heated mold under pressure, then cured into its final shape.
In practice, STM is rarely chosen just because a part is complex.
It is chosen because the part cannot tolerate uneven filling, insert movement, or dimensional drift.
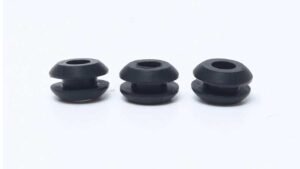
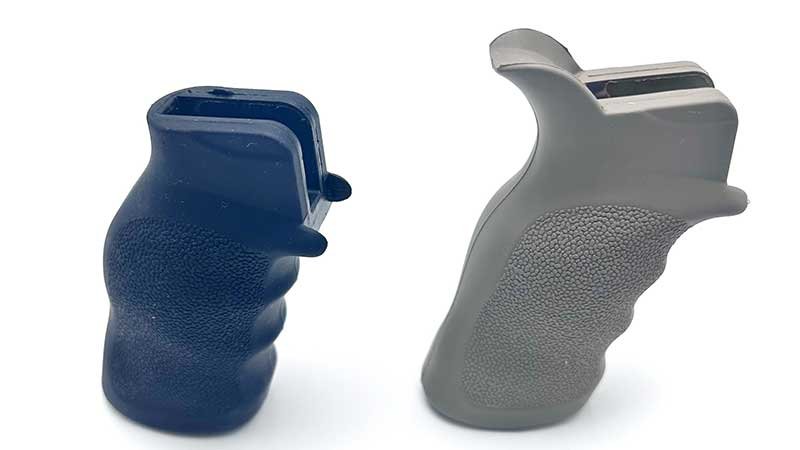
We see STM used most often for medical handles, electronic encapsulations, and silicone parts molded directly onto metal or plastic inserts. These are parts where compression molding struggles to fill consistently, and injection molding adds cost and complexity without clear benefits.
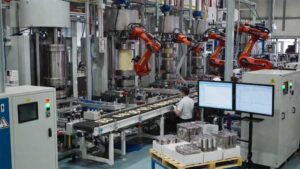
How Silicone Transfer Molding Works on the Shop Floor
Mold Preparation
If a transfer-molded part fails inspection, the root cause is often found weeks earlier, during mold design.
We work with both steel and aluminum molds. Steel is used when long-term stability matters. Aluminum is common during early sampling because it shortens lead time. But regardless of material, STM molds need to be designed differently from plastic tools.
We have seen projects where everything looked correct on paper, but the mold tolerances were simply too tight for silicone. The result was excessive flash in one area and short shots in another. After that, we stopped treating STM molds as simpler injection molds. They are not.
Before production, molds are cleaned and coated with release agents. This step sounds routine, but skipping it or using the wrong coating often leads to sticking and surface defects that show up only after several cycles.
Material Preparation
STM mainly uses high-consistency rubber (HCR). One reason is simple: HCR behaves more predictably under transfer pressure, especially when inserts are involved.
Mixing ratios are usually between 10:1 and 20:1, depending on the compound. On paper, a small deviation does not look serious. In reality, ratio errors often do not show up immediately.
We once ran a batch where the ratio was slightly off. The parts demolded cleanly and looked acceptable. Only during final inspection did we notice hardness variation across the same cavity. That was enough to fail the batch.
Since then, we treat material mixing as a controlled process, not a preparation step. If the ratio is wrong, no adjustment downstream can fully fix it.
After mixing, the silicone is placed into the transfer pot. Pre-heating here makes a noticeable difference. Cold material forces us to increase pressure, which usually creates new problems instead of solving flow issues.
Transfer Stage
Once the mold is closed, the plunger pushes silicone into the cavities. Typical pressures range from 500 to 2,000 psi.
A common assumption is that higher pressure improves filling. In STM, this is only partly true. When pressure is used to compensate for poor venting, the result is often more flash and shifted inserts.
We pay close attention to gate and vent design. When air bubbles appear in the same location every cycle, the cause is almost never the material. It is usually trapped air that has nowhere to go.
Good flow comes from temperature control and mold design, not brute force.
Curing
Curing temperatures usually sit between 150°C and 200°C, with cycle times varying based on part thickness.
For thin parts, curing looks fast and straightforward. For thicker or structural parts, curing time becomes critical. We often recommend post-curing at around 200°C for several hours, especially for medical or high-temperature applications.
Skipping post-curing saves time during production, but it often leads to compression set or mechanical complaints months later. Those problems are much harder to explain to a customer than a longer curing cycle upfront.
Demolding
Demolding is one of those steps that rarely gets attention until something goes wrong.
Ejector pins must be placed carefully. Too much force or poor placement can deform soft silicone or leave visible marks. For delicate parts, we sometimes use vacuum-assisted demolding to reduce stress during removal.
If a part is damaged at this stage, no amount of good molding upstream can recover it.
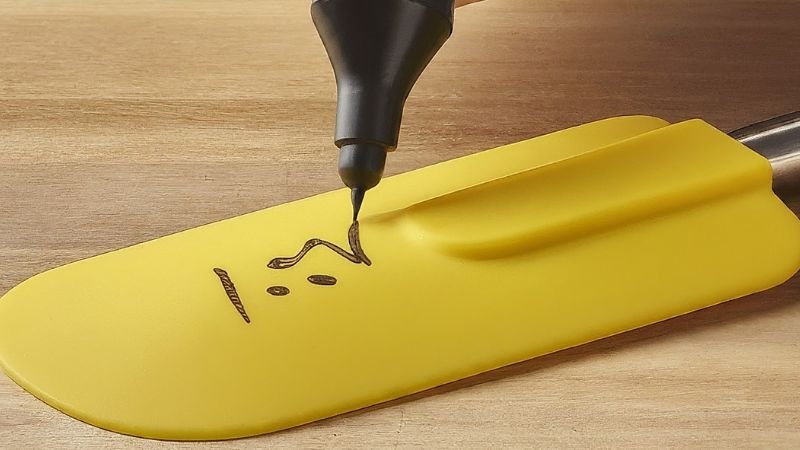
Post-Processing
Flash is common in STM. Typical flash thickness ranges from 0.05 mm to 0.2 mm, depending on mold fit and clamping force.
For high-volume parts, we often use cryogenic deflashing. For visible or low-volume parts, manual trimming gives better control. Surface treatments such as plasma activation are added when bonding or coating is required.
These steps are often underestimated during quoting, but they play a major role in final appearance and consistency.
Material Selection: Why HCR Is Still the Default
HCR remains the primary material for STM because it offers better tear resistance and dimensional stability under pressure.
Hardness usually ranges from 30 to 80 Shore A. Softer materials flow easily but demand better venting. Harder materials hold shape better but require more precise temperature and pressure control.
For medical and food-contact applications, certified compounds are standard. We always verify curing behavior during actual trials, not just through datasheets.
Process Parameters That Affect Yield
From our production data, the most sensitive parameters are:
- Transfer pressure: 500–2,000 psi
- Mold temperature: 150–200°C
- Transfer speed: too fast traps air, too slow risks early curing
- Curing time: insufficient time often leads to soft cores
When these parameters drift, defects follow quickly.
Design Guidelines That Save Time Later
Uniform wall thickness is still the most reliable rule. Sudden thickness changes often lead to incomplete filling or internal stress.
Gate and runner placement should support smooth flow, not just shortest paths. Inserts should be mechanically fixed whenever possible. Relying on silicone flow alone to hold inserts usually leads to alignment issues.
Good design reduces scrap more effectively than aggressive parameter adjustments.
Quality Control: Catching Problems Early
Common STM defects include air bubbles, short shots, excessive flash, and under-curing.
We routinely inspect hardness, tensile strength, and dimensions. For medical and electronic parts, additional validation ensures long-term performance.
Most defects trace back to venting design or parameter instability, not material quality.
Advantages and Limitations in Real Use
What STM Does Well
- Consistent filling for complex geometries
- Reliable insert molding without secondary assembly
- Reasonable tooling cost for medium volumes
Where STM Has Limits
- Longer curing times than injection molding
- Material waste from runners and transfer pots
- Higher reliance on mold and process expertise
STM works best when precision and reliability matter more than raw speed.
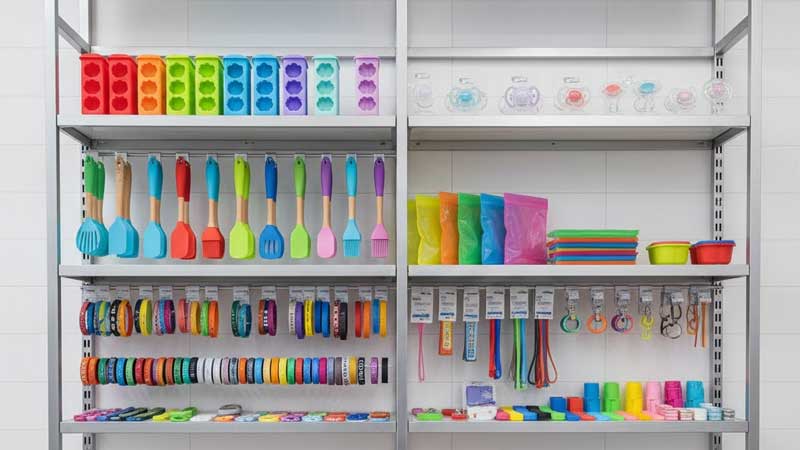
Typical Applications We Handle
STM is commonly used for:
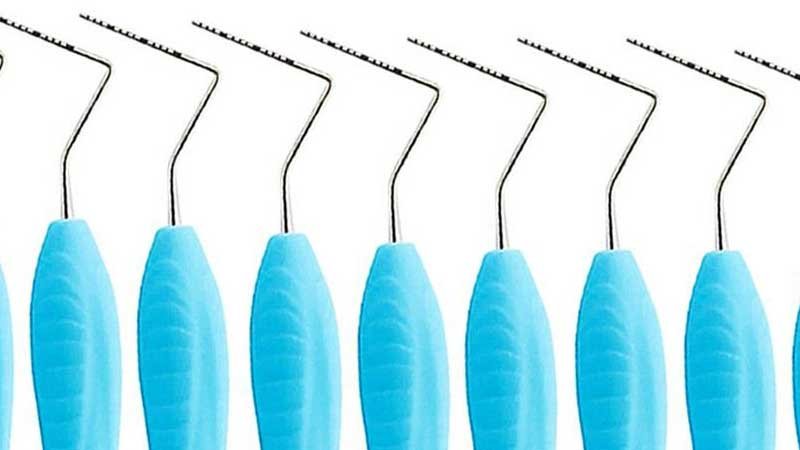
- Medical device components
- Electronic encapsulations
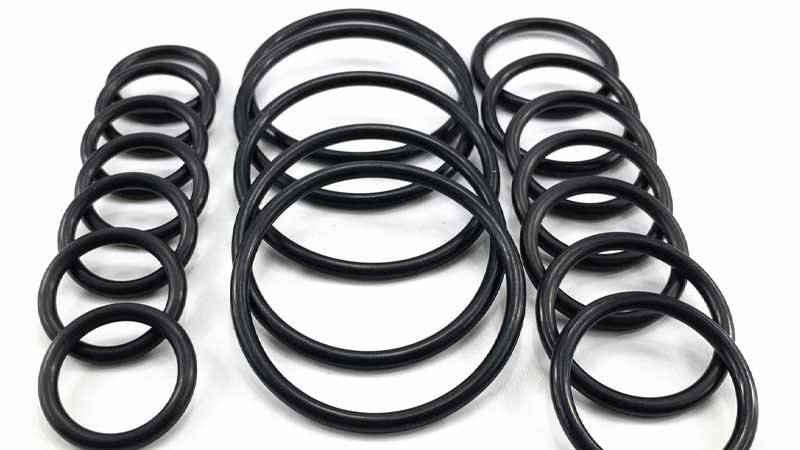
- Industrial seals with inserts
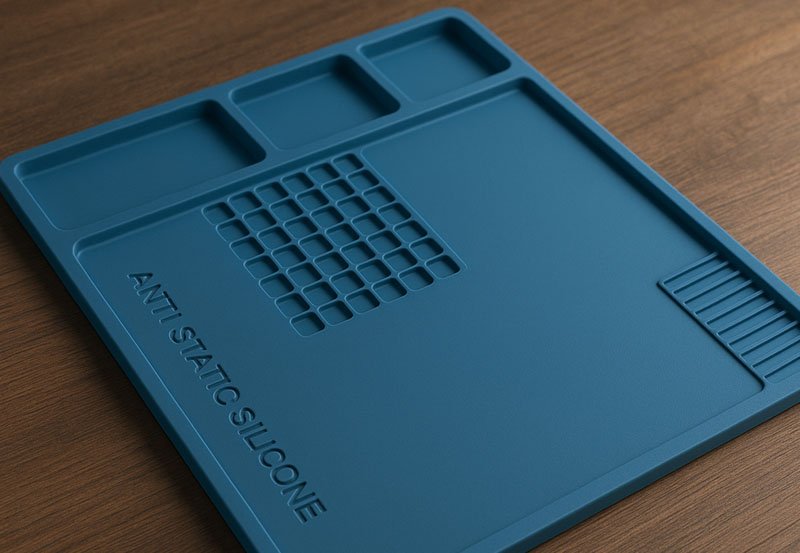
- Specialized consumer products
Its strength lies in producing parts that must perform consistently, not just look correct.
Transfer Molding vs Other Silicone Molding Methods
Transfer vs Compression Molding
Compression molding is cost-effective for simple, thick parts. Transfer molding offers better flow control and insert integration for precision components.
Transfer vs Injection Molding
Injection molding excels at high-volume automation. Transfer molding is more flexible and cost-efficient for medium volumes using HCR materials.
Frequently Asked Questions
How much does STM cost?
Costs depend on part complexity and volume. STM usually sits between compression and injection molding in overall cost.
How long is one STM cycle?
Transfer itself is quick, but curing typically takes 1 to 15 minutes, depending on thickness and material.
Is STM suitable for medical devices?
Yes. STM is widely used for medical components due to material stability and insert molding capability.
How is STM different from injection molding?
STM operates at lower pressure and suits medium-volume, complex parts. Injection molding favors high-volume, automated production.
Conclusion
Silicone Transfer Molding is not chosen because it is fashionable or simple. It is chosen because it solves specific problems that other molding methods struggle with.
When mold design, material selection, and process control are done correctly, STM delivers consistent, high-performance parts with fewer downstream surprises.
We have worked with silicone molding across many industries for years. If you are evaluating STM for your product or comparing molding options, we are happy to discuss your project based on real production conditions, not assumptions.